
7 Steps to Perfectly Pan Sear Ahi Tuna
When it comes to cooking ahi tuna, the difference between a bland meal and a restaurant-quality dish can hinge on just a few precise steps. Perfectly pan searing ahi tuna is an art that requires attention to detail. You might think searing is straightforward, but nailing the perfect crust and doneness takes more than heat and timing.
If you want to impress with tender, flavorful tuna every time, understanding these essential techniques will make all the difference. Let’s start by choosing the right cut.
Understanding Ahi Tuna and Choosing the Best Cut

What makes ahi tuna the perfect choice for pan searing? Its firm texture and mild flavor set it apart, especially when you use sushi-grade ahi tuna.
Also known as yellowfin tuna, this fish shines in sashimi and seared tuna dishes. To get the best results, choose sashimi-grade ahi that’s been flash-frozen to preserve freshness and guarantee safety by eliminating parasites.
Yellowfin tuna excels in sashimi and seared dishes—opt for flash-frozen sashimi-grade to ensure freshness and safety.
Saku tuna, a boneless, skinless block of frozen yellowfin, makes slicing and cooking easier, letting you achieve consistent, perfect sear every time.
When selecting your tuna, look for bright, vibrant color and a firm texture. These are signs of freshness and quality.
With the right cut, you’re all set to create a deliciously tender and flavorful pan-seared ahi tuna.
Preparing the Marinade for Maximum Flavor
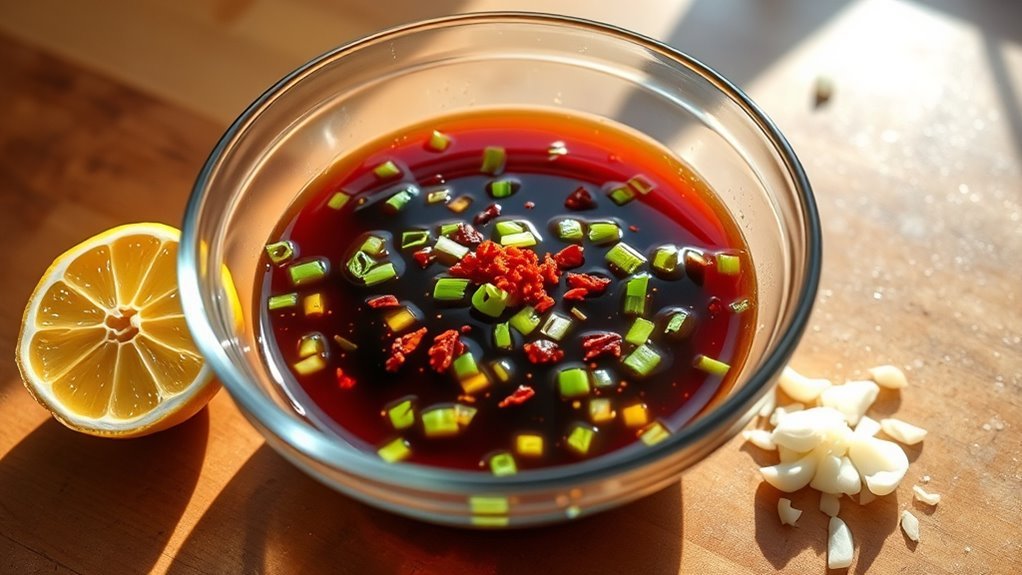
Now that you’ve selected the perfect cut of ahi tuna, it’s time to boost its natural flavor with a simple yet effective marinade. Combine 3 tablespoons of soy sauce with 1 teaspoon of sesame oil to create a rich marinade base.
Fully coat the raw fish on all sides, applying an even layer to ensure thorough flavor infusion. Let the coated tuna rest at room temperature for about 10 minutes, allowing the marinade to penetrate the meat.
Save extra marinade; it doubles as a dipping sauce or can be used for basting during searing. Brushing the marinade while cooking enhances taste and keeps the fish moist.
This careful preparation transforms your ahi tuna into a flavorful dish with balanced seasoning and a delightful finish.
Thawing and Prepping the Tuna Steaks

How you thaw and prep your ahi tuna steaks can make all the difference in achieving that perfect sear. Start by thawing frozen tuna steaks either overnight in the refrigerator or faster by submerging them in cold water, changing it every 30 minutes.
Always guarantee your ahi tuna is sushi-grade and fresh for safety and flavor. Once thawed, remove any ice crystals and pat dry thoroughly to eliminate moisture, which is vital for a good sear.
Before cooking, let the tuna come to room temperature for about 15-20 minutes to promote even cooking.
| Step | Tip |
|---|---|
| Thawing | Refrigerator or cold water bath |
| Check Quality | Look for sushi-grade, fresh fish |
| Drying | Pat dry with paper towels |
| Room Temperature | Let sit 15-20 minutes before searing |
Making the Perfect Sesame Seed Crust
Although the sesame seed crust might seem simple, it plays a crucial role in adding texture and flavor to your ahi tuna. Start by combining sesame seeds, brown sugar, garlic powder, onion powder, and salt to make an even crust mixture.
Pour this onto a dry plate or shallow dish for easy access.
Next, press each side of your seasoned tuna firmly into the sesame crust, ensuring full and even coating.
When the tuna hits the hot pan, the sugar in the crust helps create a golden crispy exterior while the sesame seeds add a nutty crunch.
This perfect sesame crust locks in flavor and forms a beautiful crust when seared, elevating your ahi tuna from ordinary to extraordinary.
Heating the Pan and Selecting the Right Oil
Once your sesame seed crust is ready and pressed firmly onto the tuna, it’s time to focus on heating the pan and choosing the right oil to achieve that perfect sear. Use a cast iron skillet and preheat it over medium-high heat for 3-5 minutes until it reaches the ideal cooking temperature.
Select a high smoke point oil like avocado, peanut, or canola oil to prevent burning during searing. Add enough oil to coat the pan evenly. Wait until the oil is shimmering or just starting to smoke before adding your tuna to ensure excellent heat.
| Oil Type | Smoke Point (°F) | Best Use |
|---|---|---|
| Avocado | 520 | High heat searing |
| Peanut | 450 | Crisp texture |
| Canola | 400 | Versatile, neutral |
| Olive Oil | 375 | Low to medium heat |
| Butter | 302 | Flavor, not searing |
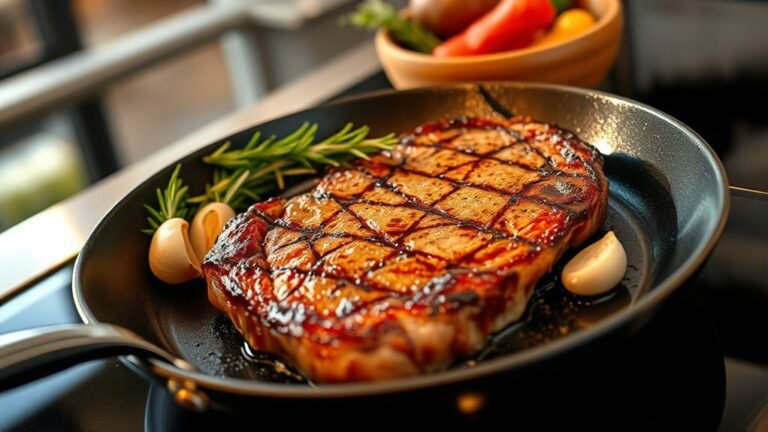
Searing the Tuna for Ideal Doneness
When your pan is hot and the oil is shimmering, you’re ready to sear the tuna. Place the ahi tuna steak carefully in the preheated skillet over high heat.
Let it cook without moving for 45 seconds to 1.5 minutes, depending on thickness and your preferred doneness.
Cook without moving for 45 seconds to 1.5 minutes for a perfect sear and desired doneness.
This cook time allows a golden crust to form, sealing in flavor. Avoid overcrowding the pan to maintain high heat and ensure proper crust formation instead of steaming.
Once the first side develops a crisp, golden crust, flip the tuna to sear the other side briefly.
After searing, briefly rest the tuna to let carryover heat finish cooking it evenly.
This technique guarantees a perfect crust and ideal doneness every time.
Serving Suggestions and Enhancing Your Dish
How can you elevate your perfectly seared ahi tuna to a restaurant-quality meal? Start by slicing the tuna thin and serving it over rice bowls, fresh greens, or sushi-inspired dishes to showcase its tender texture.
Garnish with sliced green onions and toasted sesame seeds, then add a squeeze of citrus like lime to brighten the presentation and flavor.
Pair your dish with soy sauce, spicy mayo, or wasabi to introduce exciting contrasts.
Serve immediately after slicing to preserve the tuna’s ideal tenderness and freshness. If you have leftovers, enjoy them at room temperature the next day for a versatile meal option.
These simple touches will enhance both the taste and visual appeal, making your ahi tuna truly stand out.
Frequently Asked Questions
How to Get the Perfect Sear on Tuna?
You get the perfect sear on tuna by preheating your pan well, using high-smoke-point oil, patting the fish dry, and searing each side briefly without moving it. This allows a golden crust to develop evenly.
How Long Do You Pan Sear Ahi Tuna?
You’ll sear ahi tuna like lightning, 1 to 1.5 minutes per side on high heat. Thinner cuts need less time, about 45 seconds. Keep an eye on the crust and don’t overcook it.
How to Cook a Tuna Steak in a Pan Easily?
You just heat a skillet, pat the tuna dry, coat it with oil or marinade, then sear each side for about a minute until a golden crust forms.
Let it rest briefly before slicing and serving.
What Are Common Mistakes When Searing Ahi Tuna?
You often make mistakes like not heating the pan enough, overcrowding it, or skipping drying the tuna.
Also, you might overcook it, use the wrong oil, or fail to preheat properly, ruining the sear and texture.
Conclusion
Now that you’ve mastered these steps, you’re ready to impress with perfectly pan-seared ahi tuna every time. Remember, “practice makes perfect”—so don’t be afraid to experiment with flavors and timing to suit your taste.
With fresh tuna, a flavorful marinade, and a hot skillet, you’ll create a dish that’s tender, flavorful, and restaurant-worthy. Keep it simple, stay confident, and enjoy the delicious results you’ve earned!
Pan searing ahi tuna is an art that combines technique and quality ingredients. Follow these steps to ensure your pan-seared ahi tuna is always cooked to perfection, making every meal a memorable experience.