10 Steps to Make Cheesecake Without a Springform Pan
Cooking a cheesecake without a springform pan might seem tricky, but it’s entirely doable with the right approach. Using alternative tools, you can still achieve a smooth, creamy texture and clean slices. This method is perfect if you don’t have specialized equipment on hand.
By adapting your recipe and employing a few smart techniques, you’ll get excellent results every time. If you want to learn how to cook cheesecake without a springform pan, keep following along. You’re closer to mastering this delicious dessert than you might think.
Choose the Right Baking Dish
To bake a cheesecake without a springform pan, start by choosing the right baking dish that matches the size and volume of a standard 9-inch springform, which holds about 24 cups. Use a kitchen scale or volume measurement for an accurate size comparison and pan capacity check.
Start baking cheesecake by selecting a dish matching the size and volume of a 9-inch springform pan.
An 8-inch or 9-inch square baker works well as a substitute. If your cake pan height is taller, like 3 inches, it prevents overflow and ensures even baking time.
You can also try non-traditional pans such as pie plates or ramekins, but expect portion adjustment and altered baking time.
For baking preparation, line your dish with parchment paper and grease it to help with easy removal and prevent spills, making your cheesecake come out perfectly every time.
Prepare Your Pan Properly

Properly preparing your pan sets the foundation for a flawless cheesecake. Start with a sturdy baking dish that matches your recipe’s size and temperature needs.
Then, focus on lining and greasing your container to guarantee easy release later. Here’s how to prep your pan:
Cut parchment paper to fit the bottom and sides, leaving 2 inches of overhang for lifting. Grease the pan and parchment paper thoroughly to prevent sticking.
Pre-bake and cool the crust in the pan if your recipe requires it.
For water bath baking, wrap the pan’s exterior with aluminum foil to block leaks. Ensure the pan is stable and well-lined before adding the batter.
These steps help your cheesecake come out cleanly, maintaining its shape and smooth edges without a springform pan.
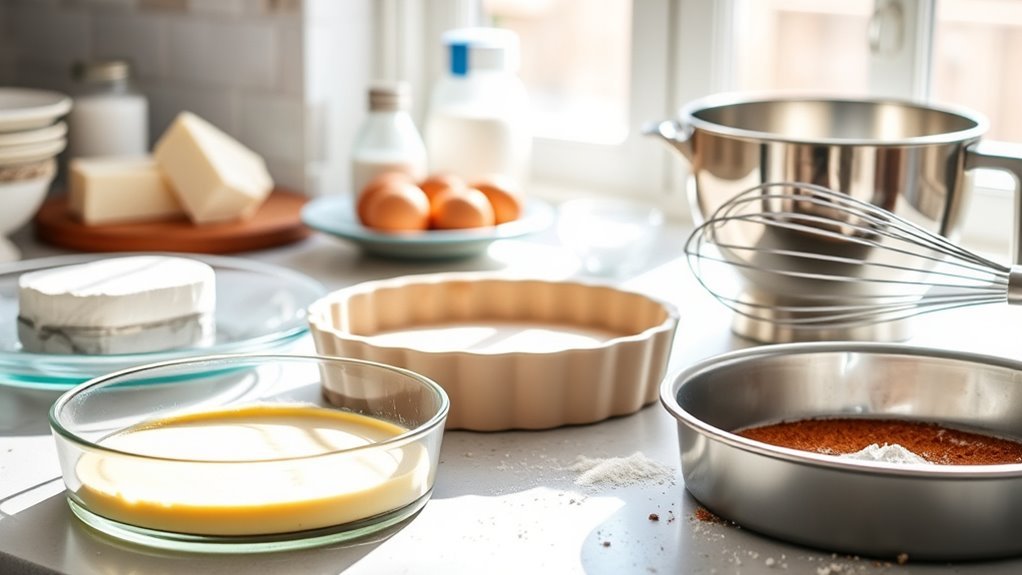
Make the Cheesecake Crust

Although it might seem simple, crafting a perfect cheesecake crust sets the stage for the entire dessert. Start by mixing crushed graham crackers with melted butter and sugar to form your crumb mixture.
Line your baking dish with parchment paper to prevent sticking and make removal easier. Press the crumb mixture firmly into the bottom of the baking dish, ensuring an even layer.
Then, pre-bake the crust at 350°F (175°C) for 5 to 10 minutes until it turns golden and fragrant. Once baked, transfer the crust to a cooling wire rack and let it cool completely before adding the cheesecake filling.
This golden crust will provide a sturdy, flavorful base for your cheesecake without the need for a springform pan.
Soften and Measure Ingredients
Since the texture of your cheesecake depends heavily on your ingredients, make sure to soften the cream cheese fully before mixing. Using softened cream cheese guarantees a smooth batter and proper cream cheese consistency.
Follow this softening method: microwave the cream cheese at 20% power in 20-second intervals until soft but not melted. Also, measure ingredients accurately to maintain flavor balance and texture. Don’t forget to bring eggs to room temperature to prevent lumps and aid smooth batter formation.
Focus on these key points for ingredient preparation:
- Use softened cream cheese for easy blending
- Measure ingredients with precision
- Soften cream cheese gradually in the microwave
- Use room temperature eggs to avoid lumps
- Prepare all ingredients before mixing
This careful preparation sets the stage for an excellent mixing technique.
Mix the Cheesecake Batter
Before combining your ingredients, beat the softened cream cheese until it’s completely smooth and lump-free.
Next, add sugar, vanilla extract, and sour cream to the cream cheese on low speed, mixing until you get a creamy base.
Crack the eggs into a separate bowl and beat them slightly.
Fold each egg gently into the batter one at a time to keep the cheesecake batter smooth.
Sift the flour through a fine mesh strainer to prevent clumps, then gradually add it to the mixture with gentle mixing for even distribution.
If the batter seems thick, let it rest for five minutes, then beat it briefly again.
This will ensure your mixture is silky, uniform, and ready for baking.
Line the Pan With Parchment Paper
How do you make sure your cheesecake won’t stick to the pan without a springform? Start by lining your baking pan carefully with parchment paper to prevent sticking and guarantee leak prevention. Here’s how to create a secure lining:
Cut two 1×12-inch parchment strips and one 3.5×19-inch or two 3.5×9.5-inch strips for the sides. Trace and cut a 6-inch parchment circle to fit snugly at the pan’s bottom.
Brush melted butter inside the pan and on parchment strips to help them adhere and prevent sticking.
Cross the two shorter parchment strips inside the pan to form the sides.
Wrap the longer strip around the sides for a secure lining and to avoid batter leaks. This cake pan lining method using parchment strips and a parchment circle guarantees a smooth cheesecake release every time.
Pour Batter and Smooth the Surface
Once you’ve prepared your batter, carefully pour it into the lined pan, spreading it evenly to avoid any thick or thin spots. Use a spatula to gently smooth and level the surface, guaranteeing an even distribution throughout the pan.
After smoothing, tap the pan lightly on the counter to release any trapped air bubbles and help settle the batter.
Check the surface for uneven spots or air pockets, and use the spatula to gently smooth them out.
Achieving a flat, level surface is vital for an even finish once baked. Taking these steps ensures your cheesecake batter is well-prepared, setting the stage for a perfectly baked dessert without the need for a springform pan.
Bake at the Correct Temperature
Although it might seem straightforward, baking your cheesecake at the correct temperature is essential to achieving the perfect texture and flavor. Start by setting the oven temperature to the recommended degree, usually 325°F for Basque-style or 350°F for traditional cheesecakes.
Baking cheesecake at the right temperature is key to perfect texture and flavor—325°F for Basque, 350°F for traditional.
Always preheat oven thoroughly to guarantee even baking and avoid temperature fluctuations.
To bake your cheesecake properly, keep these tips in mind:
- Use an oven thermometer to verify accurate temperature
- Place the pan on the middle rack for uniform heat circulation
- Adjust baking time based on pan size and depth
- Look for doneness signs like a slightly jiggly center and golden edges
- Avoid opening the oven door frequently to maintain stable oven temperature
Following these steps guarantees your cheesecake bakes evenly with the right texture and taste.
Allow Cheesecake to Cool and Set
After you finish baking, resist the urge to remove your cheesecake from the oven immediately. Instead, turn off the oven and crack the door open to let the cheesecake cool gradually in the residual heat for about 45 minutes. This slow cooling helps prevent cracks and promotes an even set.
Once cooled this way, carefully transfer the cheesecake to a cooling rack and let it reach room temperature. Cooling slowly ensures the cheesecake sets properly and avoids sinking or cracking.
After it’s completely cooled, loosely cover it with plastic wrap or foil and refrigerate for at least 4 hours or overnight. Refrigeration allows the cheesecake to achieve a full set and become firm, which is essential for better texture and easier slicing later.
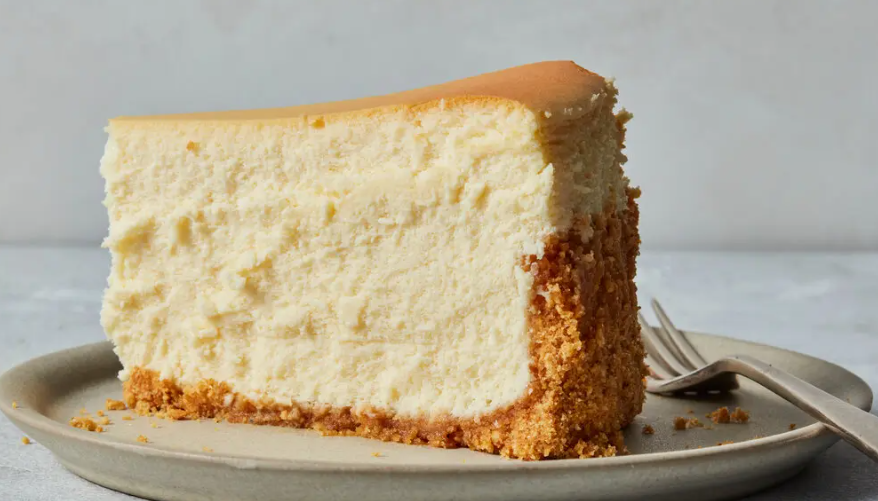
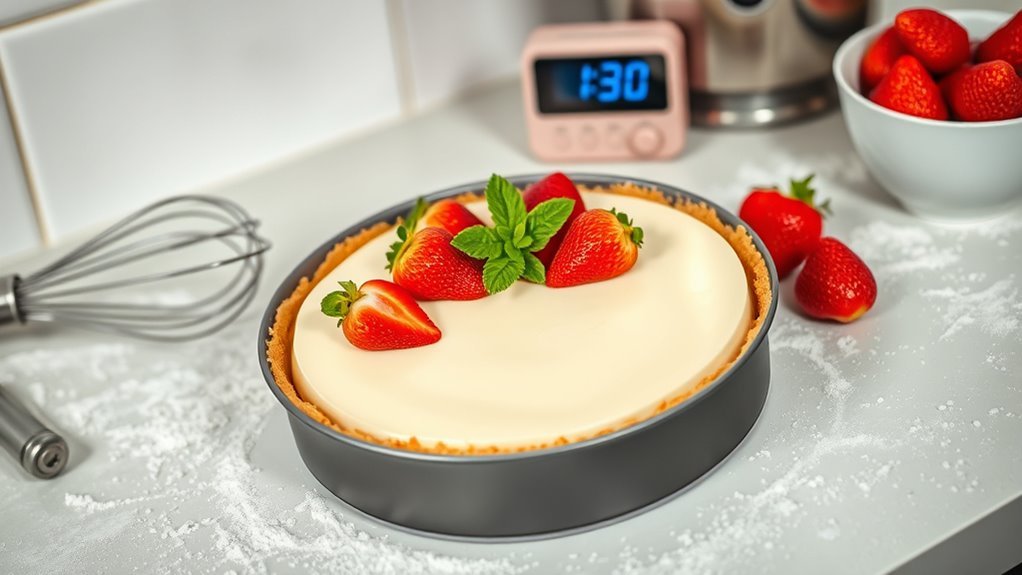
Remove and Serve the Cheesecake
When your cheesecake has fully chilled, gently lift it using the parchment paper overhang to keep it intact. Before you remove it completely, carefully slide a flat spatula or knife around the edges to loosen any stuck parts.
Then, transfer the cheesecake onto a flat serving plate or cake stand for a beautiful presentation.
To serve, let the cheesecake sit at room temperature for 20-30 minutes; this helps you slice it cleanly.
Use a sharp, warm knife for neat, smooth slices. Remember these key steps:
- Gently remove using parchment paper
- Loosen edges with a spatula or knife
- Transfer carefully for presentation
- Let sit at room temperature before slicing
- Slice cleanly with a warm, sharp knife
Following these tips ensures your cheesecake stays perfect when you serve it.
Frequently Asked Questions
What to Do if You Don’t Have a Springform Pan for Cheesecake?
If you don’t have a springform pan, use an oven-safe dish like a pie plate. Line it with parchment, bake at 325°F, cool gradually, chill thoroughly, and carefully lift your cheesecake out with a spatula.
How to Use a Regular Pan for Cheesecake?
Imagine a golden crust pressing snugly in your oiled pan; line it with parchment, pour your creamy batter, and bake carefully.
You’ll lift out a perfect cheesecake, thanks to your clever use of a regular pan.
Is It Better to Bake a Cheesecake in a Metal or Glass Pan?
You’ll get a gentler, more even bake using a glass pan, preventing cracks and overbaking. But if you want faster baking with browning edges, metal pans work better.
Choose based on your cheesecake’s texture preference.
Can I Bake Cheesecake in an Aluminum Pan?
You can definitely bake cheesecake in an aluminum pan. It’s like racing a rocket to the moon! Just lower the temperature by 25°F, line with parchment, and use a water bath to avoid burning or uneven baking.
Conclusion
Now that you’ve mastered making cheesecake without a springform pan, you hold the key to a dessert that’s as smooth and rewarding as a gentle wave on a calm sea. By choosing the right dish, preparing carefully, and baking with patience, you’ll create a creamy masterpiece that’s easy to slice and share.
So go ahead—enjoy your homemade cheesecake, knowing you’ve turned a challenge into a sweet success! With these 10 steps to cook cheesecake without a springform pan, you can confidently bake a delicious cheesecake that rivals any made in traditional bakeware. Happy baking!