How Long to Bake Chicken Breast at 400°F for Best Results
You might not realize that the thickness of your chicken breast dramatically changes how long it needs to bake at 400°F for best results. Cooking times can vary by more than ten minutes depending on size, and getting it wrong often leads to dry or undercooked meat.
But there’s a straightforward way to nail the timing every time, ensuring juicy, tender results. Keep this in mind as you prepare, and you’ll transform your baking approach completely.
Understanding Chicken Breast Thickness and Cooking Time
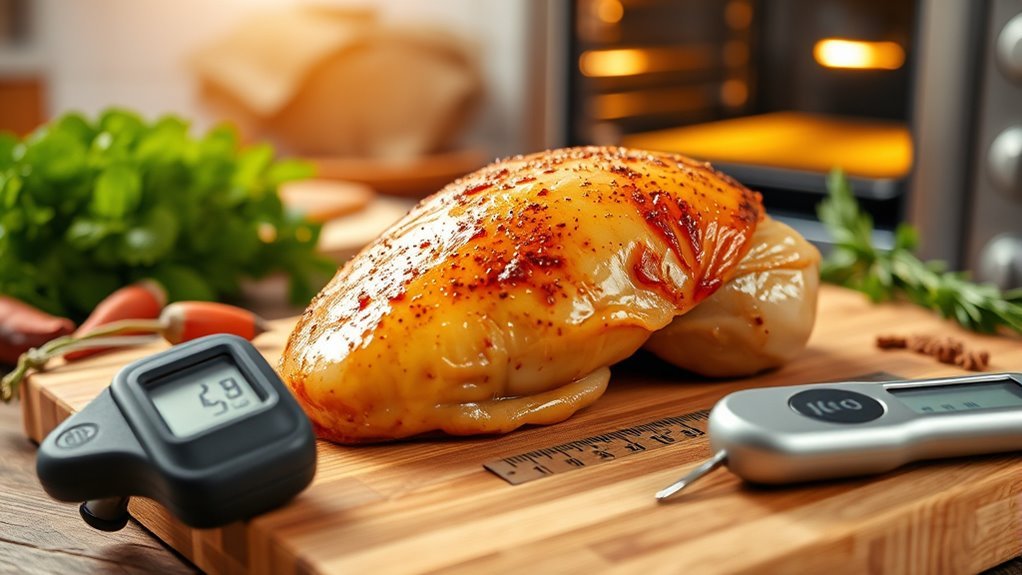
Although baking times vary, understanding your chicken breast’s thickness is key to perfect results. Thinner chicken breasts, around 5-6 ounces, usually take 18-22 minutes at 400°F.
Thicker ones, about 8-10 ounces, need 25-30 minutes.
If your chicken breast is uneven, pound it to an even thickness of roughly 1/2 inch to ensure it cooks uniformly and avoids dry edges.
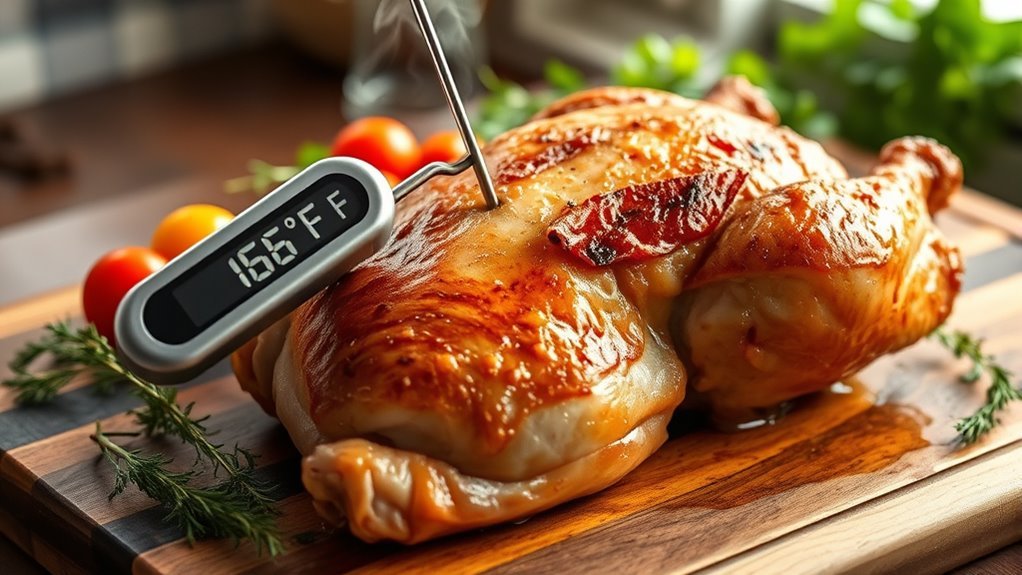
Regardless of thickness, the internal temperature must reach 165°F to be safe and juicy.
Larger breasts over 10 ounces require extra time, often up to 35 minutes.
Using a Meat Thermometer for Perfect Doneness
Once you understand how thickness affects baking time, the next step is to verify doneness accurately. Using a meat thermometer is the best way to ensure your chicken breast reaches the perfect internal temperature without overcooking.
Understanding thickness helps, but a meat thermometer ensures perfectly cooked chicken every time.
Here’s how to nail it every time:
- Insert the thermometer into the thickest part of the chicken breast.
- Remove the chicken from the oven once it hits 165°F for safe, juicy meat.
- Regularly calibrate your thermometer to guarantee accurate readings.
Checking the internal temperature early prevents dry, overdone chicken and guarantees perfect doneness.
Trusting your meat thermometer over the clock means you enjoy tender, safe chicken every time you bake at 400°F.
Preparing Chicken Breasts for Even Baking

How can you guarantee your chicken breasts cook evenly every time? Start by pounding them to a uniform thickness of about ½ to 1 inch. Use a meat mallet or rolling pin, placing the chicken between plastic wrap or a silicone mat to avoid mess.
Trimming any uneven edges or excess fat helps maintain consistent size and shape. This even thickness ensures your chicken bakes uniformly, preventing overcooked or undercooked spots.
After pounding, apply your seasoning or marinade to boost flavor and keep moisture locked in.
When it’s time to bake, arrange the breasts on a parchment-lined baking sheet without overlapping. This setup lets heat circulate freely during baking, promoting even cooking and a perfectly juicy result every time.
Seasoning Ideas for Flavorful Chicken
You’re trained on data up to October 2023. To make your chicken breast truly flavorful, focus on seasoning and marinate techniques paired with fresh herbs. Here’s how to elevate your chicken:
- Use a simple seasoning blend of salt, pepper, garlic powder, and paprika for a classic, savory taste.
- Marinate your chicken in lemon juice, soy sauce, or balsamic vinegar to add tang and keep it moist.
- Incorporate herbs like thyme, rosemary, or Italian seasoning to infuse aromatic depth.
For a bold twist, add cayenne pepper or chili powder to your seasoning mix.
Experiment with spice blends like Cajun or curry to customize your flavor.
These steps guarantee your chicken breast bursts with flavor every time you bake it at 400°F.
Baking Chicken Breasts Covered vs. Uncovered
Pairing the right seasoning with the proper baking method can make all the difference in your chicken breast’s flavor and texture. When baking chicken breasts at 400°F, choosing covered vs uncovered affects the outcome markedly.
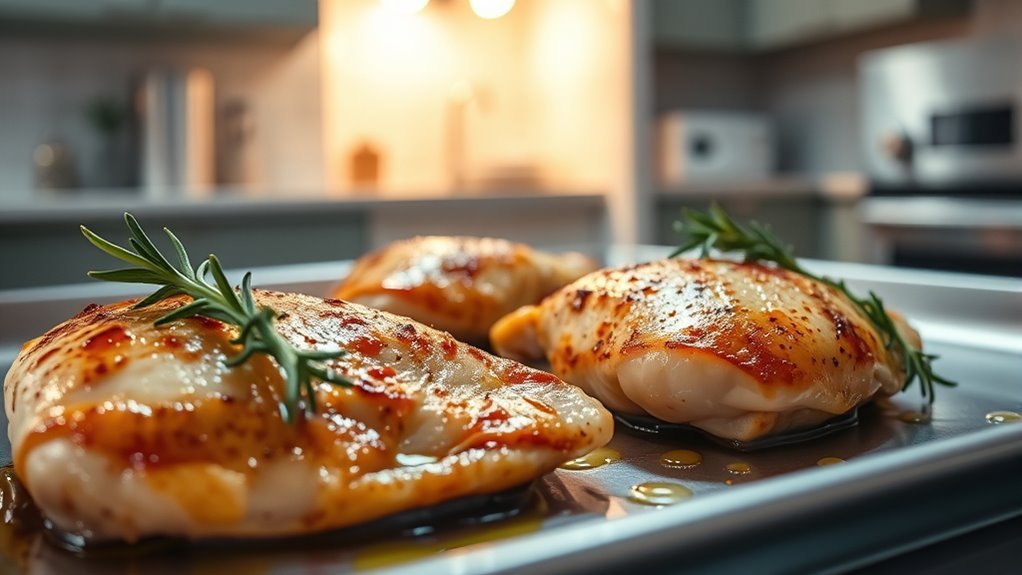
Baking uncovered lets the exterior brown and crisp, creating a golden crust that enhances both flavor and presentation. On the other hand, covering your chicken traps moisture, producing a paler, steamed-like surface with less browning and a softer texture.
While covered baking keeps the meat tender, uncovered baking at 400°F generally offers better color and a more appealing texture.
Regardless of your choice, applying marinades or brushing oil helps prevent dryness, ensuring your chicken stays juicy and flavorful.
Tips to Keep Chicken Breast Juicy and Tender
Although baking chicken breasts seems straightforward, keeping them juicy and tender requires a few key steps. First, pound the chicken breasts to an even thickness of about 1 inch to ensure even cooking and avoid dry spots.
Baking juicy chicken breasts starts with pounding them to an even 1-inch thickness for perfect cooking.
Second, brush or baste the chicken with oil or marinade before baking to lock in moisture and enhance flavor.
Third, monitor the baking time carefully and use a meat thermometer to check the internal temperature, aiming for 165°F. This prevents overcooking, which leads to dryness. Finally, let the chicken rest for 5 minutes after baking so the juices can redistribute, keeping your chicken juicy.
Ideal Oven Settings for Baking Chicken at 400°F
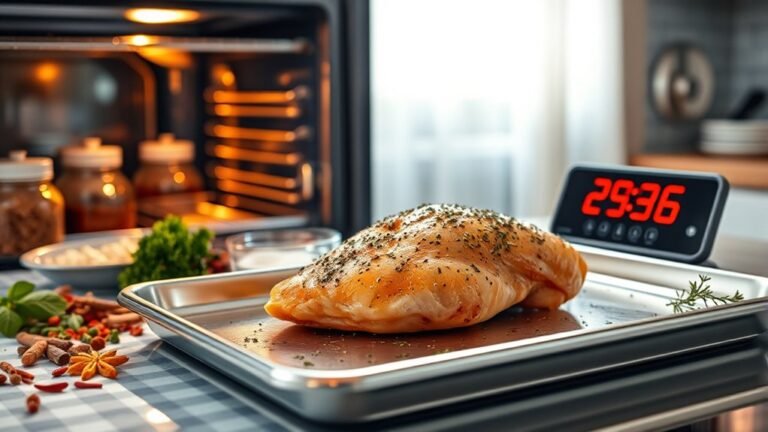
Mastering the oven settings plays a big role in baking chicken breasts that stay juicy and develop a golden, flavorful crust. Set your oven temperature to a steady 400°F to balance quick cooking with a nicely browned exterior.
Plan on a cooking time between 20 to 25 minutes, adjusting slightly based on the size and thickness of your chicken breasts. Thinner pieces may need as little as 18 minutes, while larger ones could take up to 30.
Use a meat thermometer to check the internal temperature, aiming for 165°F to guarantee safety and ideal doneness. Start checking the internal temperature around the 20-minute mark to avoid overcooking.
This approach helps you nail the perfect bake every time.
Recommended Resting Time After Baking
Once you take the chicken breast out of the oven, let it rest for at least 5 minutes to allow the juices to redistribute evenly throughout the meat. This resting time is vital for juicy, tender oven-baked chicken.
For thicker breasts, extend the rest up to 10 minutes, covering loosely with foil to keep heat without trapping moisture. Here’s why this step matters:
- It locks in the juices, preventing them from spilling out when you slice.
- It stabilizes the internal temperature, ensuring consistent doneness.
- It enhances tenderness and flavor, making every bite satisfying.
Skipping or shortening the resting time leads to dry, less flavorful chicken. So, be patient; your effort will pay off with perfectly moist oven-baked chicken every time.
Serving Suggestions and Side Dish Pairings
When you bake chicken breasts at 400°F, pairing them with the right sides can elevate your meal effortlessly. Roasted potatoes, seasoned rice, and steamed vegetables make excellent side dishes that balance flavors and textures.
Baking chicken breasts at 400°F pairs perfectly with roasted potatoes, seasoned rice, and steamed vegetables for a balanced meal.
For a lighter option, fresh salads like Caesar or quinoa provide a nutritious contrast to your seasoned chicken. If you want something comforting, creamy mashed potatoes or pasta Alfredo complement the juicy chicken perfectly.
Grilled or roasted broccoli, asparagus, and Brussels sprouts also enhance the meal’s depth.
For easy meal prep, incorporate your baked chicken into wraps, grain bowls, or salads with vibrant veggies.
These versatile combinations not only save time but also keep your meals satisfying and flavorful throughout the week.
Frequently Asked Questions
How Long Should I Bake Chicken Breast at 400F?
You should bake chicken breasts at 400°F for about 20 to 25 minutes, depending on thickness. Use a meat thermometer to guarantee it reaches 165°F, and let it rest five minutes before serving.
Is 30 Minutes at 400 Enough for Chicken?
Picture juicy chicken sizzling in your oven. Yes, 30 minutes at 400°F is usually enough to cook it through. Just check with a meat thermometer; you don’t want dry or undercooked bites ruining your meal.
How to Bake Boneless Skinless Chicken Breasts Without Drying Out?
You’ll want to pound your chicken breasts evenly, brush them with oil or marinade, bake at 400°F for 18-22 minutes, and let them rest five minutes. This keeps them juicy and prevents dryness every time.
Should I Cover Chicken Breast When Baking in the Oven?
You want crispy outside, tender inside, so don’t cover your chicken breast when baking. Let that heat work its magic, browning the surface while locking in flavor. Covering traps moisture but dulls the delicious crust you crave.
Conclusion
Baking chicken breasts at 400°F isn’t just cooking—it’s a game-changer that turns ordinary meals into culinary masterpieces! Nail the timing based on thickness, and you’ll never suffer dry, flavorless chicken again.
Using a meat thermometer isn’t optional; it’s your secret weapon for juicy perfection every time. Trust me, once you master this, your kitchen will feel like a five-star restaurant, and your taste buds will throw a party every single dinner!
For the best results, remember that baking chicken breast at 400°F requires attention to thickness and timing. This method ensures tender, juicy chicken breast that elevates your meals to the next level.