How Do You Make Gravy From Pan Drippings in 10 Easy Steps
If you want to turn those flavorful pan drippings into a rich, delicious gravy, you’re closer than you think. Making gravy from pan drippings is easier than you might expect. With just a few simple steps, you can transform leftover juices into a perfect sauce that complements any roast or poultry.
It’s not as complicated as it sounds, and once you get the hang of it, you’ll wonder why you ever bought gravy from a jar. Let’s start with the first essential step you can’t skip.
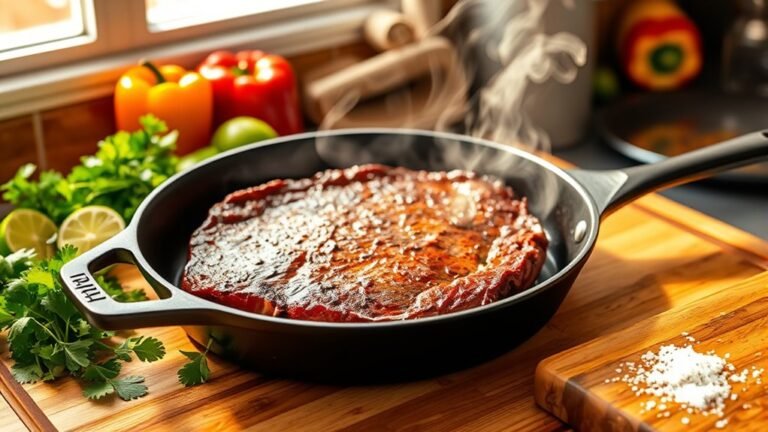
Rest the Cooked Meat Before Carving

Before carving your cooked meat, let it rest for at least 10 minutes so the juices can redistribute and keep the drippings rich and flavorful. Resting allows the meat’s natural juices to settle, preventing them from spilling out as soon as you start carving.
When you carve immediately, those precious juices escape, leaving the meat drier and the drippings watery. To keep the meat warm during resting, loosely cover it with foil. This simple step ensures your meat stays juicy and tender, making carving easier and cleaner without shredding.
Plus, the drippings you collect afterward will be packed with flavor, providing a perfect base for your gravy. Taking time to rest your meat is key to both juicy slices and rich drippings.
Collect Pan Drippings and Browned Bits

Once your meat has rested and you’re ready to carve, pour about half an inch of chicken or turkey broth into the roasting pan to keep the drippings from burning.
Now, you’ll want to collect those flavorful pan drippings and browned bits that hold the key to rich gravy.
Here’s how to do it:
- Use a rubber spatula to scrape all the browned bits and caramelized goodness from the bottom of the roasting pan.
- Pour the collected pan drippings and broth into a separate container.
- Avoid straining at this stage; just gather everything so you can move on to measuring and straining next.
Following these steps ensures you capture every bit of flavor from the roasting pan for your gravy.
Measure and Strain the Drippings
How do you separate the rich flavors from excess fat to create a smooth gravy base? Start by pouring the pan drippings into a bowl or measuring cup, allowing the fat to rise to the top.
Use a spoon or gravy separator to remove most of the fat, leaving about a quarter to half an inch on top to keep the flavor.
Next, strain the remaining drippings through a fine-mesh sieve or cheesecloth to remove solids, herbs, and meat chunks. This step guarantees your gravy base is silky and free of unwanted debris.
Finally, measure the strained liquid to know how much drippings you have, usually around one cup, to help you adjust your gravy recipe accordingly. Discard the solids, and set the liquid aside for the next step.
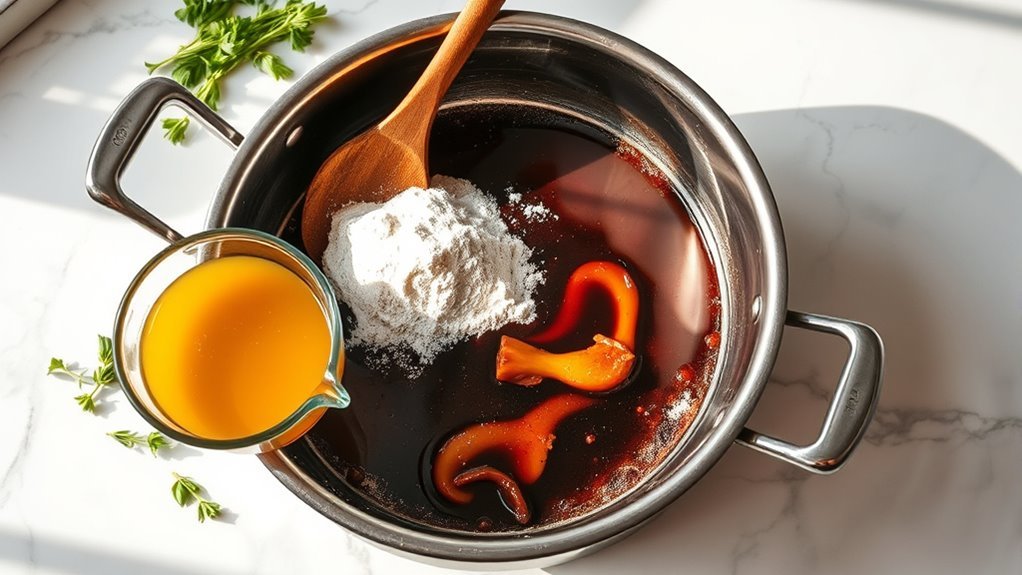
Prepare the Roux With Fat and Flour
While heating your skillet over medium heat, melt 2 tablespoons of fat from the pan drippings to create the base for your roux.
Next, follow these steps:
- Whisk in an equal amount of flour, stirring constantly to combine the fat and flour smoothly.
- Keep whisking to prevent lumps and make sure the mixture is cohesive and silky.
- Cook the roux for 30 seconds to 1 minute until it turns a light golden color, indicating the raw flour taste has cooked out.
Heat the Fat and Cook the Flour
Before you add the flour, warm the reserved pan drippings or fat over medium-high heat until they’re hot but not smoking. Next, add 2 tablespoons of flour to the fat and whisk constantly to form a smooth roux.
Cook the roux for 1 to 2 minutes, stirring steadily to avoid lumps and guarantee the raw flour taste cooks out. This step thickens your gravy and develops its rich flavor.
| Step | Action | Result |
|---|---|---|
| 1 | Heat fat | Hot but not smoking |
| 2 | Add flour | Form smooth roux |
| 3 | Whisk constantly | Prevent lumps |
| 4 | Cook 1-2 minutes | Light golden color |
Keep whisking to cook the flour evenly in the fat.
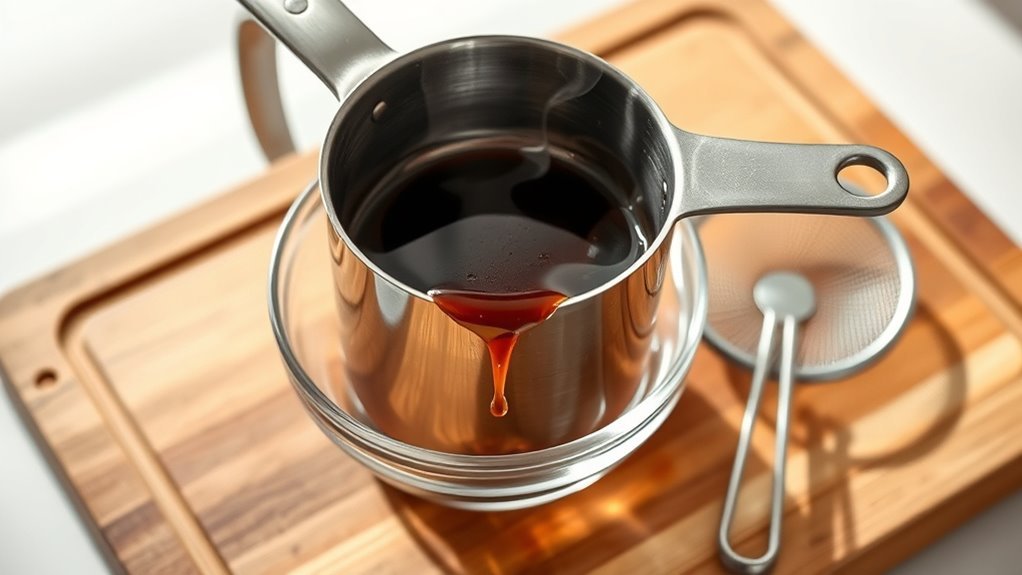
Gradually Add Liquid While Whisking
Once your roux has reached a light golden color, it’s time to add the liquid. To get a smooth gravy without lumps, you need to incorporate the liquid gradually while whisking constantly. Here’s how to do it:
When your roux turns light golden, slowly whisk in liquid for a smooth, lump-free gravy.
- Pour warm water, broth, or milk in small amounts slowly, whisking continuously.
- After each addition, keep whisking until the mixture is smooth and evenly combined.
- Maintain a steady pace to control temperature and avoid splattering.
Simmer the Gravy to Thicken
As you bring the gravy to a gentle simmer over medium heat, the thickening process kicks in, transforming your mixture into a rich, velvety sauce.
Keep the heat steady to avoid boiling vigorously, which can cause the gravy to break or become too thick.
Stir frequently as you simmer, allowing the liquid to reduce by about one-third.
This reduction concentrates flavors and helps thicken the gravy naturally.
Monitor the consistency by dipping a spoon into the gravy; it should smoothly coat the back of the spoon without running off too quickly.
Once you reach the desired thickness, remove the gravy from heat.
This careful simmering guarantees a perfect texture, setting the stage for final flavor enhancements in the next step.
Adjust Consistency and Flavor
While simmering thickens your gravy, you can fine-tune its texture and flavor to suit your taste. Adjusting the consistency and seasoning ensures your gravy complements your dish perfectly. Here’s how you can do it:
- To thicken or thin the gravy, simmer longer to reduce or add broth to loosen the consistency. For creaminess, whisk in milk or heavy cream gradually.
- Enhance flavor by stirring in lemon juice, Worcestershire sauce, or soy sauce. These brighten and deepen the taste without overpowering it.
- If the seasoning feels off, dilute with broth or water if too salty, or add herbs like thyme and rosemary to boost robustness. Taste as you go to balance everything perfectly.
Optional: Strain Gravy for Smoothness
If you want a silky, lump-free gravy, straining it through a fine-mesh strainer or cheesecloth removes herbs, meat bits, and browned particles that can affect texture.
After cooking your gravy with pan drippings, pour it slowly through the fine-mesh strainer into a bowl or container.
Use a spoon or spatula to press gently, ensuring thorough liquid extraction from the solids.
This step helps you achieve smooth gravy, perfect for an elegant finish.
You can either discard the strained solids or save them for other uses, like flavoring stocks.
Serve Gravy With Your Favorite Dishes
When you’re ready to serve, pour the warm gravy over roasted meats, mashed potatoes, or stuffing to enhance their flavor. This easy homemade gravy, made from rich pan drippings, brings out the best in your dishes.
To serve gravy perfectly:
- Use a gravy boat or small pitcher to present the thickened gravy elegantly at the table.
- Adjust consistency by adding stock if too thick or simmering longer to thicken further.
- Garnish with fresh herbs like parsley or thyme for color and extra flavor.
Keep the gravy warm until serving to maintain its smooth texture and avoid clumping.
Following these steps ensures your pan drippings transform into a delicious sauce that complements your favorite meals beautifully.
Frequently Asked Questions
How to Make Gravy From Pan Juice?
You start by keeping some fat and browned bits in the pan, whisk in flour to form a roux, then gradually add warm liquid while stirring.
Simmer until thickened, season, and strain if you want it smooth.
How to Make Your Own Gravy Easy?
You make your own gravy easy by whisking flour into pan drippings, gradually adding warm broth while stirring to avoid lumps.
Cook until thickened, then season with salt, pepper, and butter for rich, homemade flavor.
How to Turn Pan Drippings Into a Sauce?
You capture the golden essence left behind, then whisk it with a floury hug and warm broth until it thickens. This silky cloak transforms those secret treasures into a luscious, comforting sauce you’ll adore.
How to Turn Cooking Liquid Into Gravy?
You turn cooking liquid into gravy by thickening it with a roux made from fat and flour. Slowly whisk in broth or water, simmer until thickened, then season and finish with butter for smooth, rich gravy.
Conclusion
Now that you’ve transformed those golden pan drippings into a velvety gravy, you hold a rich river of flavor ready to cascade over your meal. Like a painter adding the perfect finishing stroke, your gravy brings warmth and depth, turning every bite into a masterpiece.
So drizzle generously and savor the harmony you’ve crafted—because with this simple sauce, you’re not just serving food, you’re serving comfort on a plate. Making gravy from pan drippings is an easy way to elevate your dishes and impress your guests with homemade goodness.