How to Make Sourdough Bread in a Loaf Pan: Step-by-Step Guide
If you’re looking to bake sourdough bread in a loaf pan, you’ll want to start with a reliable sourdough starter and the right flour-to-water ratio. Making sourdough bread in a loaf pan requires attention to detail and some key techniques to ensure a great rise and texture.
The process involves more than just mixing ingredients—you’ll need to master techniques like stretching and folding to build gluten and shape the dough properly. Getting the timing right for proofing and baking is also essential.
Let’s explore how to bring all these elements together for a perfect loaf. With the right method, your sourdough bread will have a beautiful crust and a tender crumb, all shaped perfectly by the loaf pan.
Ingredients Needed for Sourdough Bread in a Loaf Pan
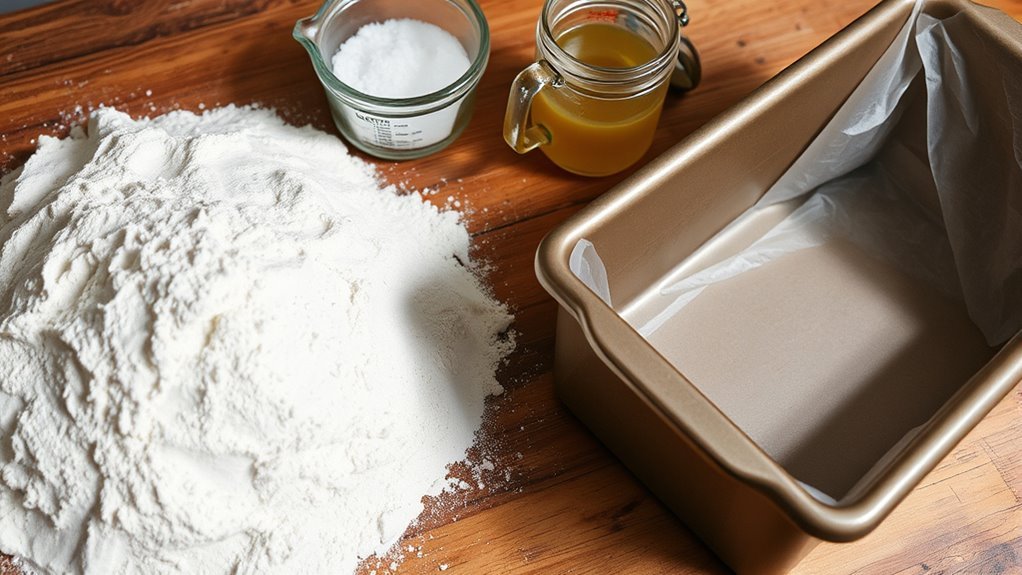
When you’re ready to bake sourdough bread in a loaf pan, gather 500 grams of bread flour, 100 grams of active sourdough starter, 10 grams of fine sea salt, and about 430 grams of room temperature water.
The sourdough starter should be active and at around 100% hydration to guarantee proper fermentation and a good rise.
You can substitute whole wheat flour or adjust hydration levels if you prefer.
Using fine sea salt helps enhance flavor, but regular table salt works too.
Fine sea salt boosts flavor, but regular table salt is a perfectly good alternative.
The dough’s hydration influences its texture and handling during shaping.
A standard 9×5 inch loaf pan, lightly oiled or lined with parchment, prevents sticking.
Optional add-ins like seeds can be mixed in before shaping.
These ingredients and tools set the foundation for successful proofing and baking.
Preparing the Sourdough Starter and Dough
Because your sourdough starter needs to be at its peak activity, feed it 4 to 6 hours before mixing your dough so it’s bubbly and ready. Use 100 grams of this active starter with 512 grams of bread flour, 430 grams of water, and 10 grams of salt for dough mixing.
After combining, let the dough rest uncovered at room temperature for 30 minutes to kickstart gluten development.
Then, perform three to four sets of stretch and folds at 30-minute intervals to strengthen the dough’s structure during fermentation.
Finally, shape your dough into the loaf pan for the final proofing before baking.
Key steps to focus on:
- Feed starter 4-6 hours ahead for peak activity
- Rest dough 30 minutes for gluten development
- Perform multiple stretch and folds
- Final proofing in loaf pan before baking
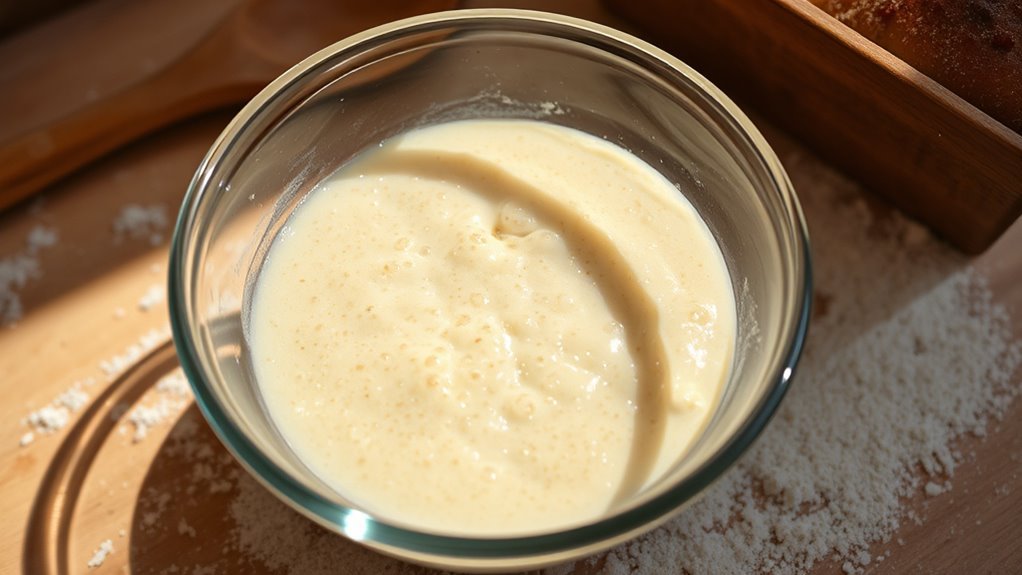
Mixing and Hydrating the Dough
Although mixing sourdough dough requires attention to detail, you’ll find that combining 512 grams of bread flour with 430 grams of water until sticky sets a solid foundation. Next, add 100 grams of active sourdough starter and 10 grams of salt, then mix thoroughly to incorporate all ingredients evenly.
Adjust water slightly depending on your flour type and humidity; reducing by 50 grams can make the dough easier to handle. Mix until the dough is fully hydrated and has a uniform texture with no dry flour.
Let it rest for 20-30 minutes to allow the flour to absorb the water completely, enhancing hydration before you move on.
| Ingredient | Amount (grams) | Purpose |
|---|---|---|
| Bread Flour | 512 | Base flour for structure |
| Water | 430 | Hydrates and binds dough |
| Starter | 100 | Fermentation and flavor |
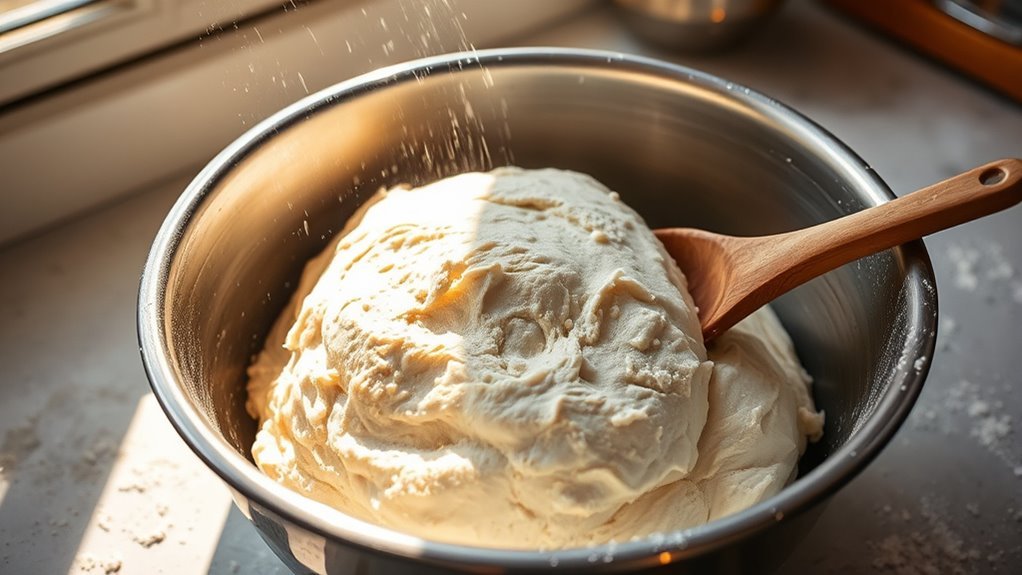
Stretching and Folding Techniques
To develop a strong gluten network and improve oven spring, you’ll want to incorporate stretching and folding into your dough handling routine.
This technique enhances gluten development by realigning the dough’s proteins, resulting in better dough strength and an elastic dough perfect for a crisp crust and open crumb.
Here’s how to nail the stretch and fold during bulk fermentation:
Perform 3 to 4 sets at 30-minute intervals over the first 2 hours.
Complete 3 to 4 stretch and fold sets every 30 minutes during the initial 2 hours for optimal dough strength.
Use wet hands to prevent sticking, especially with high hydration dough.
Gently lift and stretch one side upward, then fold it over the center.
Avoid overworking to maintain dough elasticity and promote crumb openness.
Mastering this will give your sourdough a great oven spring and a beautifully textured loaf.
Shaping the Dough for the Loaf Pan
When your dough has fermented fully, gently turn it onto a lightly floured surface to keep it from sticking and protect the gluten structure.
Begin shaping the dough into a tight rectangle, pressing out any large air bubbles while creating surface tension to strengthen the form.
Tuck the edges underneath carefully to achieve a smooth, seamless top, ensuring the dough holds an even shape.
Next, roll or fold the dough into a log or oval that fits snugly into your prepared loaf pan.
Place the shaped dough seam-side down into the pan, which helps maintain its form during proofing.
Cover it lightly, preparing it for the final rise.
Proper shaping sets the foundation for a well-structured loaf that bakes evenly in your loaf pan.
Proofing Methods and Timing
After shaping your dough and placing it snugly in the loaf pan, you’ll need to proof it properly to develop flavor and texture. Proofing methods and timing vary, so watch your dough closely.
At room temperature, expect a proofing time of 4-6 hours or until it nearly doubles in size.
Alternatively, cold fermentation in the fridge can extend proofing duration up to 24 hours, enhancing flavor. Use the poke test to check readiness: the dough should slowly spring back.
Avoid over-proofed dough, which collapses, and under-proofed dough, which stays dense.
Key points to remember:
-
- Proofing duration depends on ambient temperature and starter activity
- Aim for a gentle rise with a slight dome
- Monitor dough feel and volume, not just time
- Adjust proofing methods based on your environment and schedule
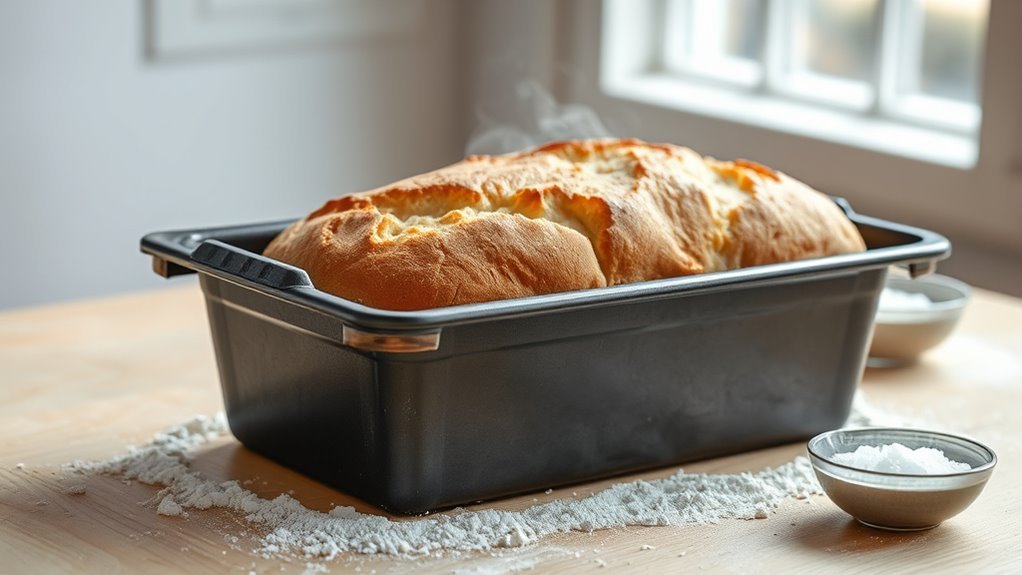
Baking Process and Temperature Guidelines
Although proper proofing sets the stage, the baking process ultimately converts your dough into a flavorful sourdough loaf. Preheat your oven to 500°F (260°C) with a water tray for steam.
Once you place the dough in the loaf pan, reduce the baking temperature to 450°F (230°C) and bake for 25 minutes. Remove the water tray, then continue baking uncovered at 400°F (200°C) for another 20 minutes.
Avoid opening the oven door early to guarantee a crisp crust and even doneness. Use an instant-read thermometer to verify the internal temperature reaches 206-210°F.
| Step | Temperature & Time |
|---|---|
| Preheat & Steam | 500°F, water tray inside |
| Initial Bake | 450°F, 25 minutes |
| Remove Steam Tray | Continue at 400°F |
| Final Bake | 20 minutes or until 206-210°F |
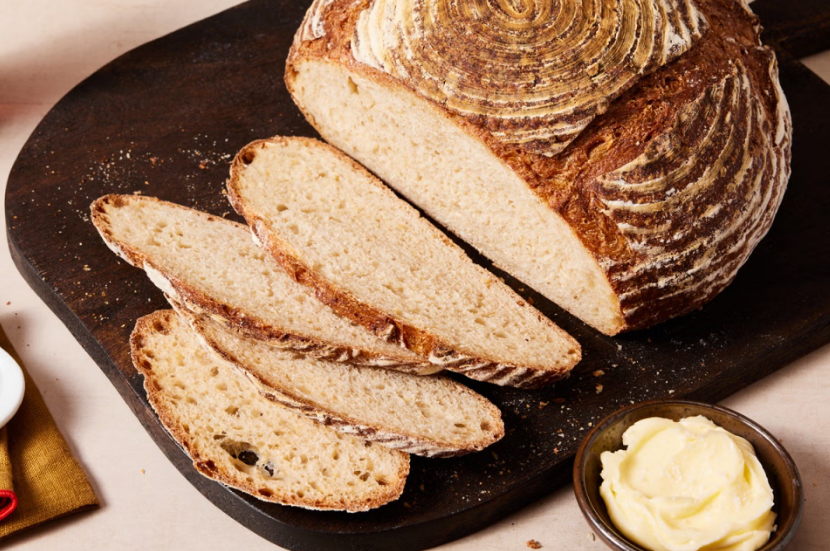
Tips for Storing and Serving Your Sourdough Bread
To keep your sourdough bread tasting fresh and maintain its crusty texture, let it cool completely on a wire rack before storing. This prevents moisture buildup that can soften the crust.
For ideal bread storage, use a breathable container like a paper or cloth bread bag to preserve freshness and crust texture.
Keep your bread at room temperature for up to five days. If you want to store it longer, wrap tightly in plastic wrap and freeze slices for convenience.
When ready to serve, reheat slices in a toaster or oven to restore that fresh-baked feel.
- Cool completely before storing to avoid moisture buildup
- Use breathable containers for crisp crust
- Store at room temperature or freeze slices wrapped tightly
- Reheat before serving to refresh texture and flavor
Frequently Asked Questions
Can I Bake My Sourdough in a Loaf Pan?
Yes, you can bake your sourdough in a loaf pan. Just make sure the dough properly proofs to fill the pan, use parchment or a preheated pan, and bake at 400–450°F for a perfect crust and crumb.
What Is the Biggest Mistake Beginners Make With Sourdough Bread?
You’ll often stumble by letting your dough overproof, like a ship lost at sea without a compass.
Don’t let it collapse; keep your timing sharp, or your loaf will sink instead of rise beautifully.
What Makes a Loaf Pan Ideal for Sourdough?
A loaf pan is ideal for sourdough because it shapes your bread uniformly, promotes even baking, supports dough expansion for a tall loaf, and reduces scoring needs. This helps you achieve a consistent, well-structured, delicious result every time.
Can You Use a Loaf Pan Instead of a Dutch Oven for Bread?
Yes, you can use a loaf pan instead of a Dutch oven. It shapes your bread nicely, and by adding steam with water trays or covering the loaf, you’ll get a great crust and a perfect bake every time.
Conclusion
Now you’ve mixed, stretched, shaped, and proofed your dough with care. You’ve baked it golden, cooled it patiently, and sliced it with anticipation. You’ve smelled the fresh crust, tasted the tangy crumb, and shared the warmth with those you love.
Making sourdough bread in a loaf pan isn’t just baking—it’s creating, nurturing, and enjoying. Keep practicing, keep experimenting, and keep savoring every delicious, crusty, homemade bite you pull from your oven. With each loaf, you master the art of how you make sourdough bread in a loaf pan, turning simple ingredients into a beautiful, flavorful masterpiece.