7 Easy Steps to Pan Cook Chicken Tenders Perfectly
Just like a skilled artist chooses the right brush, you need the proper approach to pan cook chicken tenders perfectly. Pan cooking chicken tenders requires more than just heat; it demands the right preparation, seasoning, and timing to achieve juicy, flavorful results every time.
Master these simple yet vital steps, and you’ll transform your chicken tenders from ordinary to exceptional with ease. Let’s start with selecting the right pieces.
Selecting the Right Chicken Tenders
When selecting chicken tenders, start by choosing fresh, boneless, and skinless pieces to guarantee tenderness and even cooking. Opt for boneless chicken tenders or tenderloins with a uniform size to help them cook evenly.
If you buy frozen tenders, be sure to thaw completely in the refrigerator or microwave before cooking to maintain a tender texture.
In your tenders selection, look for fresh chicken with a pinkish color and firm feel. Avoid any that seem slimy, discolored, or have an off smell.
Don’t forget connective tissue removal; trim away any tendon remnants with kitchen shears or a knife to improve bite quality.
Following these tips ensures your chicken tenders will cook evenly and stay juicy and tender every time.
Preparing the Chicken for Cooking
You’re trained on data up to October 2023. Before cooking, thaw frozen chicken tenders completely in the fridge or microwave to guarantee even heat distribution.
Always thaw chicken tenders fully in the fridge or microwave to ensure even cooking and juicy results.
Use kitchen shears or a sharp knife to remove tendons or connective tissue, making each bite tender.
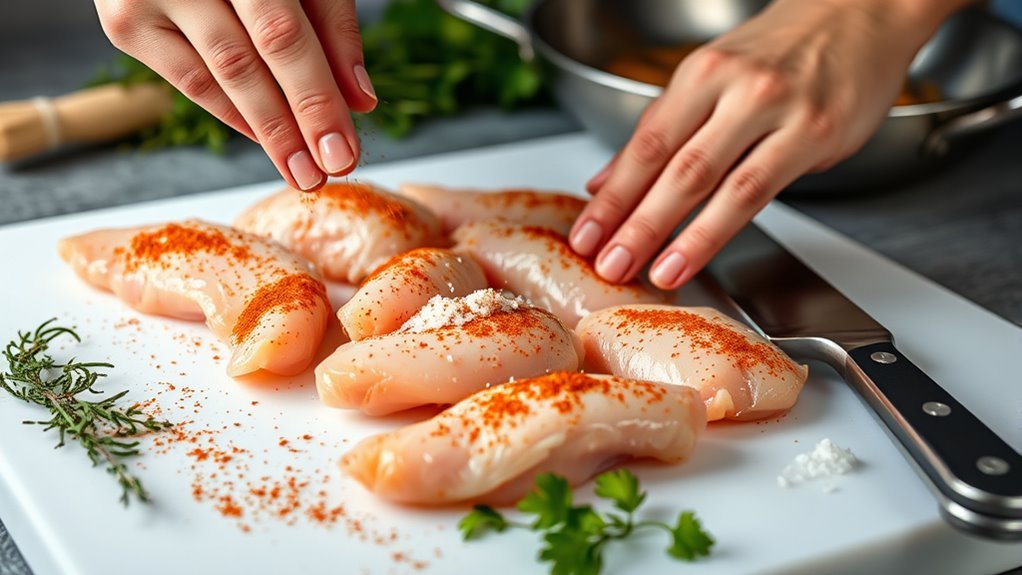
Next, pat the chicken tenders dry with paper towels to remove excess moisture, which helps promote a crispy exterior.
Then, season the tenders evenly with your prepared dry rub or spices, allowing the flavors to absorb properly.
After seasoning, allow the chicken to rest at room temperature for a few minutes.
This step is vital to avoid cold spots and guarantee the tenders cook evenly.
Following these steps sets you up for perfectly pan-cooked chicken tenders every time.
Choosing and Mixing Seasonings
Although seasoning might seem straightforward, choosing the right blend can transform your chicken tenders from bland to bursting with flavor. Start by creating a balanced seasoning blend using garlic powder and onion powder in a 1:1 seasoning ratio to build a rich flavor profile.
Add smoked paprika for a smoky or sweet note, depending on your preference. Enhance this base by mixing in dried herbs like oregano to elevate your seasoning mixture further.
To master taste customization and flavor enhancement, follow these steps:
- Combine garlic powder, onion powder, smoked paprika, salt, and dried herbs evenly.
- Mix thoroughly to ensure each tender gets an even coating.
- Adjust salt and spice levels to suit your personal taste or dietary needs.
This approach guarantees flavorful, perfectly seasoned chicken tenders every time.
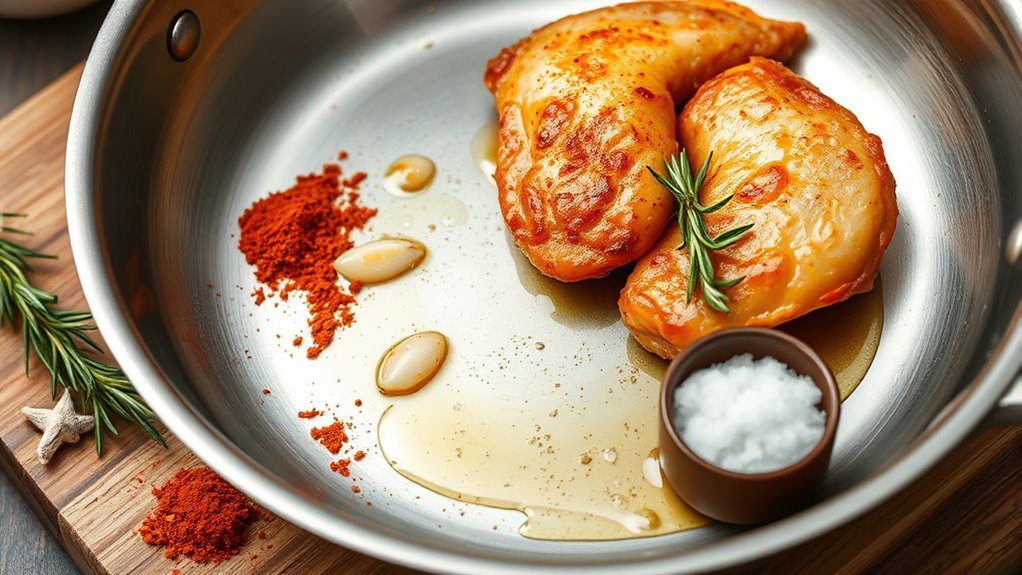
Heating the Skillet and Oil Properly
Before adding oil, preheat your skillet over medium heat for 1-2 minutes to create an even cooking surface. This step guarantees the pan is evenly heated, preventing hot spots that could cause uneven cooking.
Choose a high smoke point oil like avocado or vegetable oil, then add enough to lightly coat the skillet bottom—usually 1-2 tablespoons. Allow the oil temperature to rise until it shimmers or gently ripples; this signals the oil is hot enough for cooking.
Maintaining medium heat throughout prevents the oil from overheating or burning, which can ruin the chicken’s flavor and texture.
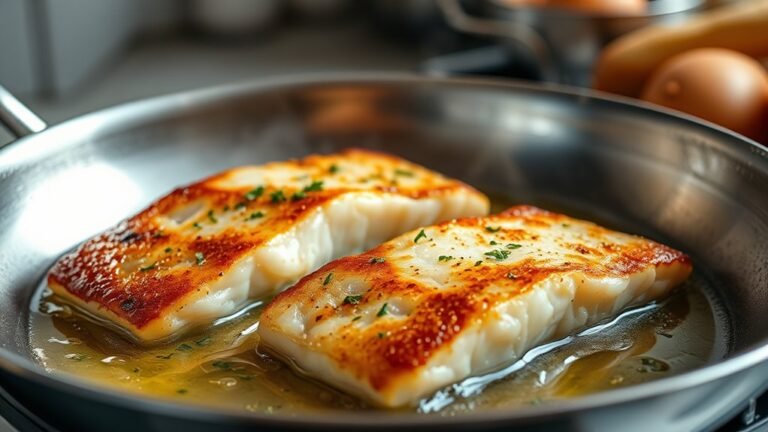
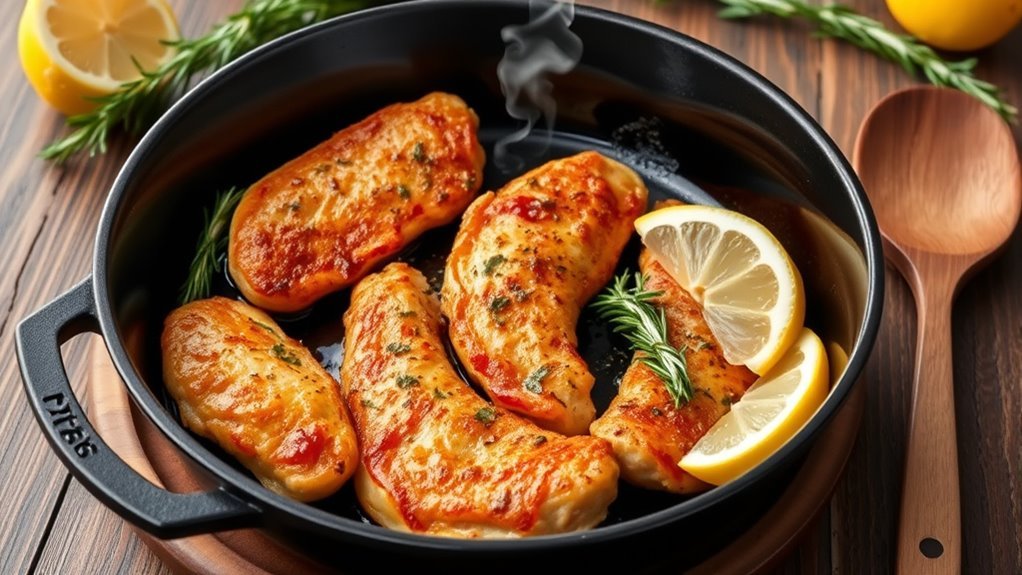
Cooking the Chicken Tenders Evenly
When cooking chicken tenders, arranging them in a single, uncrowded layer guarantees even heat distribution and proper searing. This setup helps you avoid overcrowding, which can cause uneven cooking and soggy texture.
Follow these steps for perfectly cooked tenders:
Follow these simple steps to achieve tender, juicy chicken with perfect searing every time.
- Place tenders in a single layer in the skillet over medium-high heat. Let them cook undisturbed for 2-3 minutes to achieve proper searing and uniform browning.
- Flip once to cook the other side evenly, adjusting cooking time based on thickness: 3-4 minutes for thinner tenders, a bit longer for thick pieces.
- Use a meat thermometer to check that the internal temperature reaches 165°F, ensuring safe and even doneness throughout your chicken tenders.
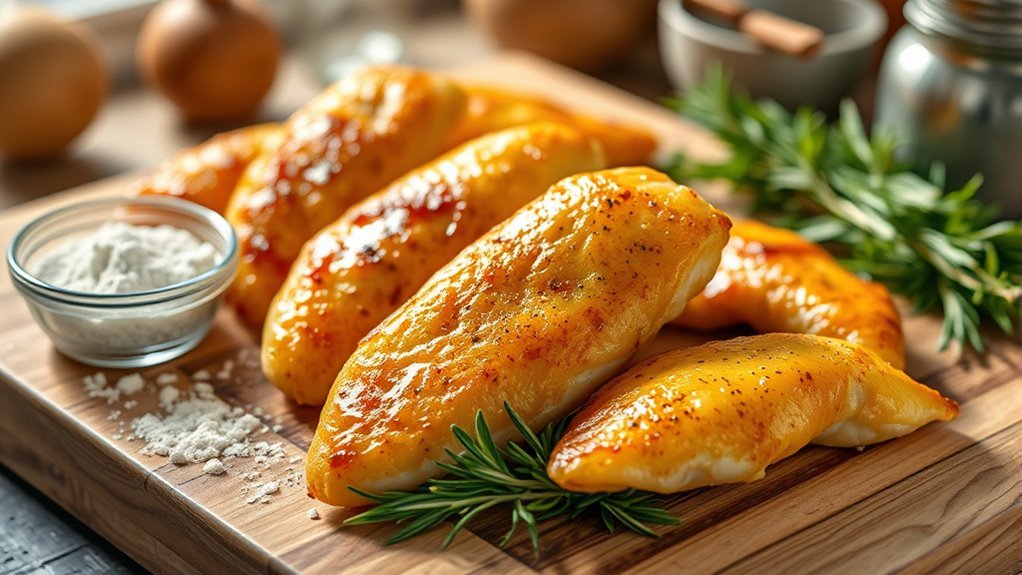
Checking for Doneness and Resting
How do you know when your chicken tenders are perfectly cooked? Use a meat thermometer to check the internal temperature; it should reach 165°F (74°C) for safe doneness.
Along with this, look for visual cues like opaque, white meat and clear juices to confirm proper doneness.
Avoid cutting into the tenders right away, as it causes juice loss and dryness. Instead, allow a resting time of 3-5 minutes, loosely covered with foil.
This resting period lets the juices redistribute, ensuring juicy chicken and preventing dryness.
Serving Suggestions and Storage Tips
Once your chicken tenders have rested and reached the perfect temperature, it’s time to think about serving and storing them properly. Here are some top serving suggestions and storage tips:
- Serve with dips and sides like honey mustard, salads, or wedges to elevate your meal. Try pairing options such as wraps or tacos for variety.
- Store leftover chicken tenders in an airtight container in the fridge for 3-4 days. For longer storage, freeze cooked chicken in a freezer-safe container for up to 3 months.
- When reheating tenders, use a skillet over medium-low heat or microwave until they reach 165°F. Reheating in skillet preserves crispiness and flavor, perfect for meal prep.
These steps ensure your tenders stay delicious and versatile!
Frequently Asked Questions
How Long Should You Pan Fry Chicken Tenders?
You should pan fry chicken tenders for about 3 to 4 minutes per side over medium-high heat. Thinner pieces cook faster, so keep an eye on them and use a thermometer to guarantee 165°F inside.
How to Cook Chicken Step by Step in a Pan?
You’ll pat chicken dry, season it, then heat oil in a skillet. Cook tenders 3-4 minutes per side, flipping once.
Check for 165°F inside, then let them rest briefly before serving.
What’s the Best Way to Cook Chicken Tender?
You’ll want to pan fry chicken tenders for 3-4 minutes per side until they hit 165°F inside. This method locks in juiciness while creating a golden crust that’s crispy enough to satisfy every bite.
What’s the Secret to Evenly Cooked Tenders?
The secret to evenly cooked tenders is preheating your skillet, cooking them in a single layer with space, and leaving them undisturbed initially. Flip at the right time, and use a meat thermometer to guarantee a 165°F internal temperature.
Conclusion
Now that you’ve mastered these steps, think of your skillet as a stage where each chicken tender takes its perfect bow—golden, juicy, and full of flavor. Just like a well-rehearsed performance, your careful preparation and timing bring harmony to the plate.
Remember, every flip and sizzle is a note in your cooking symphony. So, cook with confidence, rest with patience, and enjoy the delicious encore you’ve created.
With these 7 easy steps to pan cook chicken tenders perfectly, you’re well on your way to making a quick, tasty meal that everyone will love. Keep practicing, and your chicken tenders will always come out tender, flavorful, and beautifully cooked.