7 Easy Steps to Make Graham Cracker Crust for a 9×13 Pan
If you’re planning to make a graham cracker crust for a 9×13 pan, you’ll want a method that’s straightforward and reliable. A perfect graham cracker crust is essential for pies, cheesecakes, and bars, providing a delicious, crunchy base. With just a few simple ingredients and steps, you can create a crust that holds together well and complements any filling.
Whether you choose to chill or bake it, knowing the right techniques will make all the difference. Keep following to find out how to get that perfect crust every time. This easy graham cracker crust recipe is sure to become a staple in your baking routine.
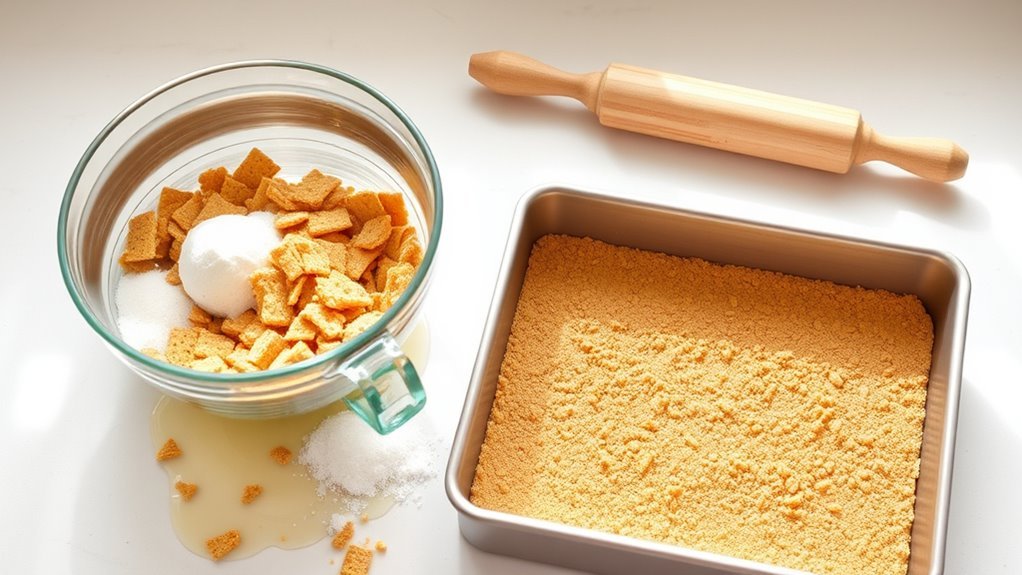
Gather Your Ingredients
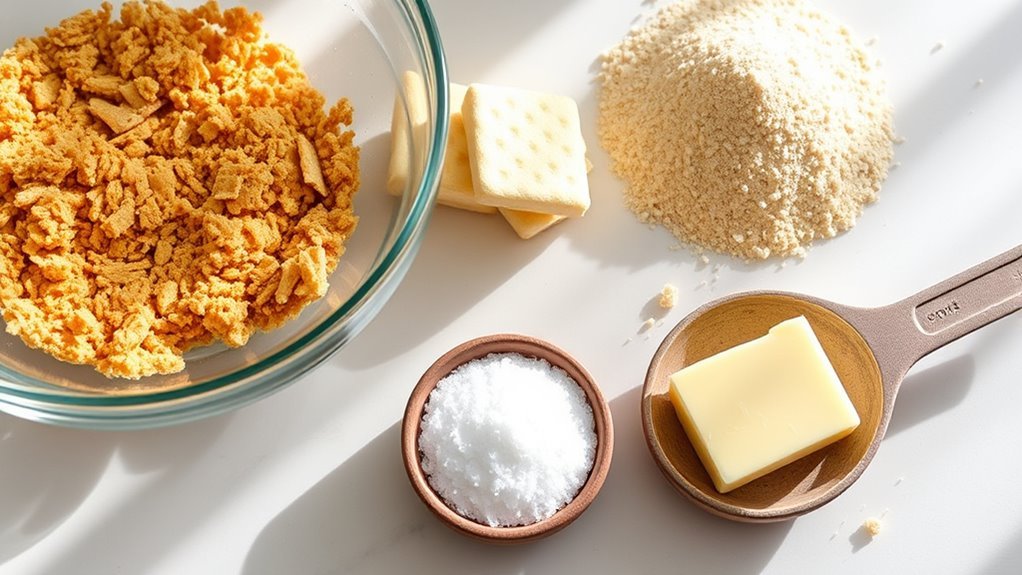
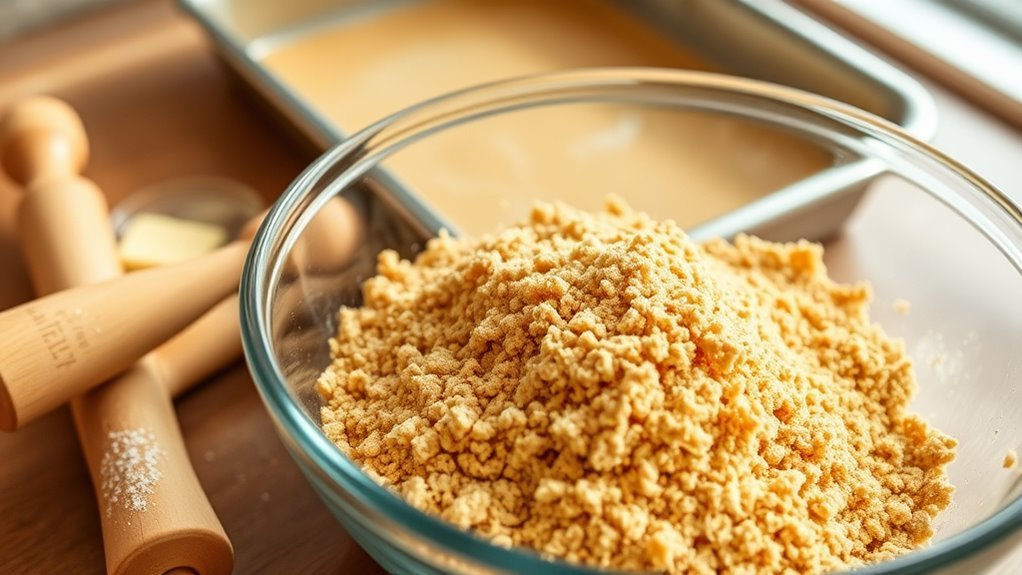
To make the perfect graham cracker crust for your 9×13 pan, start by gathering all the necessary ingredients. You’ll need about 12 graham cracker sheets or roughly 1.5 cups of graham cracker crumbs.
Begin your graham cracker crust with 12 sheets or 1.5 cups of crumbs for a 9×13 pan.
If you’re using sheets, have a method ready to create crushed crackers.
Next, measure 2 tablespoons of granulated sugar with your measuring cup.
Melt ½ cup of unsalted butter until fully liquefied.
Optional flavorings like 1 teaspoon of ground cinnamon can be added to enhance the taste.
Prepare a mixing bowl to combine all crust ingredients smoothly.
Having your pre-measured ingredients organized will make the process quicker and easier when it’s time to mix and press the crust into your baking pan.
Crush the Graham Crackers
How you crush the graham crackers will impact the texture of your crust. You can use a food processor to pulse 12-18 graham crackers into fine, uniform crumbs in about 10-20 seconds. Alternatively, place them in a resealable plastic bag and crush with a rolling pin to reach a coarse or fine texture.
Crushing manually in small batches gives a rustic texture. Aim for crumbs similar to wet sand for the best mixture consistency, ensuring smooth pressing into the pan without crumbling.
| Method | Texture Outcome | Time Required |
|---|---|---|
| Food Processor | Fine, uniform | 10-20 seconds |
| Rolling Pin | Coarse or fine | 2-5 minutes |
| Manual Crush | Rustic, coarse | Varies |
Mix Crumbs With Sugar
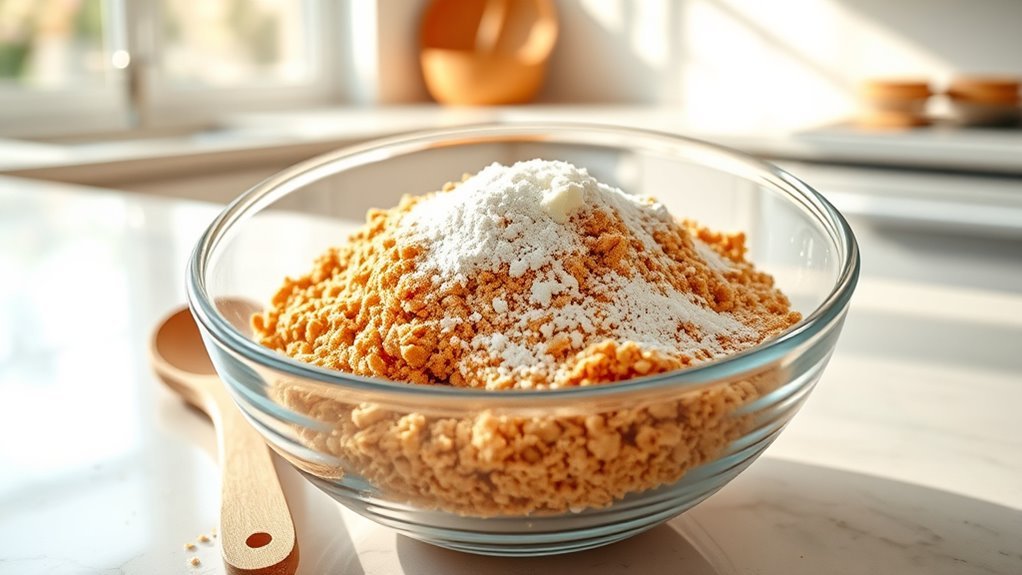
Although graham cracker crumbs provide the base, mixing them evenly with 1/2 cup of granulated sugar guarantees your crust has consistent sweetness throughout. Start by placing the graham cracker crumbs and granulated sugar in a mixing bowl. Use a fork or whisk to mix these dry ingredients thoroughly until they’re evenly combined.
This step not only ensures even sweetness but also helps with the binding and texture of your crust, which is vital for successful baking.
For an extra touch of flavor, you can add a pinch of cinnamon or cocoa powder before mixing.
To achieve a uniform texture, consider sifting the crumbs and sugar together to break up any clumps. Properly mixed dry ingredients lay the foundation for a crust that holds together and tastes delicious.
Add Melted Butter
A key step in making your graham cracker crust is adding melted butter, which binds the crumbs together. Start by melting about 1/2 to 1 cup of butter until fully liquid, either in the microwave or on the stovetop. Make sure the melted butter is warm, not hot, to avoid clumping or melting the graham cracker crumbs too much.
Melt 1/2 to 1 cup butter warm, not hot, to bind graham cracker crumbs perfectly without clumping.
Then, gradually pour the butter over the crumbs while stirring continuously to evenly coat and incorporate all the dry ingredients. This ensures the crust holds together nicely later on.
Remember these tips:
- Pour melted butter slowly to avoid soggy spots
- Mix thoroughly to get an even coating over all crumbs
- Use warm, liquid butter for ideal binding and texture
This step is essential for a firm, cohesive crust.
Press the Mixture Into the Pan
Once you’ve combined the crumbs and melted butter, press the mixture firmly into your 9×13 pan to create an even, compact crust. Use the back of a measuring cup or a flat-bottomed tool to press the mixture with even pressure, ensuring the crumb layer spreads uniformly.
Start by pressing from the center and work outward to avoid air pockets and gaps. Firmly pack the crumbs without overpacking, so the crust holds together without cracking later. Focus on the edges and corners to achieve a uniform crust that won’t crumble.
After pressing, run your fingers or the bottom of a glass over the surface to smooth it out. Compact crumbs tightly for a dense, cohesive crust with a smooth surface that’s ready for the next step.
Chill or Bake the Crust
After pressing the graham cracker mixture firmly into your pan, you’ll need to decide whether to chill or bake the crust.
Chilling in the refrigerator for at least 30 minutes helps the crust become firm, making it easier to cut and serve. Alternatively, baking in the oven at 350°F for 8-10 minutes creates a golden crust with enhanced texture and flavor.
Chill for firmness or bake at 350°F for 8-10 minutes to enhance texture and flavor.
Once baked, let it cool completely before adding fillings to keep it crisp and stable.
Consider these tips:
- Chill no-bake crusts for 1-2 hours or freeze 15-20 minutes for extra firmness
- Bake crusts for a golden, crisp finish
- Always allow cooling after baking to maintain structure
Choose based on your dessert’s needs to get the perfect crust every time.
Prepare for Filling
Before adding your filling, make sure the graham cracker crust is completely cooled and firmly set to prevent sogginess or crumbling. If you baked the crust, let it cool completely at room temperature or chill it in the fridge for about 30 minutes.
For no-bake crusts, refrigerate for at least 30 minutes or freeze for 15 minutes to firm up. This step guarantees the crust is sturdy and can hold the filling without falling apart.
When ready, use a spatula or spoon for pouring or spooning your filling onto the crust. Spread the filling evenly over the firmly packed crust, creating a smooth, level surface.
Taking these steps will prevent crumbling and sogginess, helping your dessert hold together perfectly.
Frequently Asked Questions
Can I Use Honey Instead of Sugar in the Crust?
You can use honey instead of sugar, but it might make the crust a bit softer and stickier. Reduce other liquids slightly since honey adds moisture. Adjust sweetness to taste, and press the crust firmly for best results.
Is It Necessary to Chill the Crust Before Adding Filling?
You don’t absolutely have to chill the crust, but giving it a little cool-down helps it settle nicely and hold its shape.
Chilling creates a firmer base, so your filling won’t cause any unexpected messes.
How Long Can I Store a Pre-Made Graham Cracker Crust?
You can store a pre-made graham cracker crust in the refrigerator for up to 3 days, wrapped tightly. If you freeze it, it’ll last about 1 to 2 months. Just thaw it before filling.
Can I Make This Crust Gluten-Free?
You can definitely make this crust gluten-free by swapping regular graham crackers for gluten-free ones. Think of it as building a bridge to inclusivity. Everyone gets to enjoy that perfect, crumbly foundation without worry.
What Can I Substitute if I Don’t Have a Food Processor?
If you don’t have a food processor, you can crush graham crackers using a rolling pin inside a sealed plastic bag. Alternatively, place them in a bowl and smash with a heavy cup or mallet until fine crumbs form.
Conclusion
Now that you’ve crushed, mixed, and pressed your graham cracker crust, you’re ready to chill or bake it to perfection. You’ve created a buttery, crumbly base that’s ready to hold your favorite fillings.
Whether you’re making cheesecake, bars, or pies, this simple crust will add flavor, texture, and a homemade touch.
So go ahead—chill or bake, fill or decorate, and enjoy every delicious bite you’ve crafted with care using this easy graham cracker crust recipe!