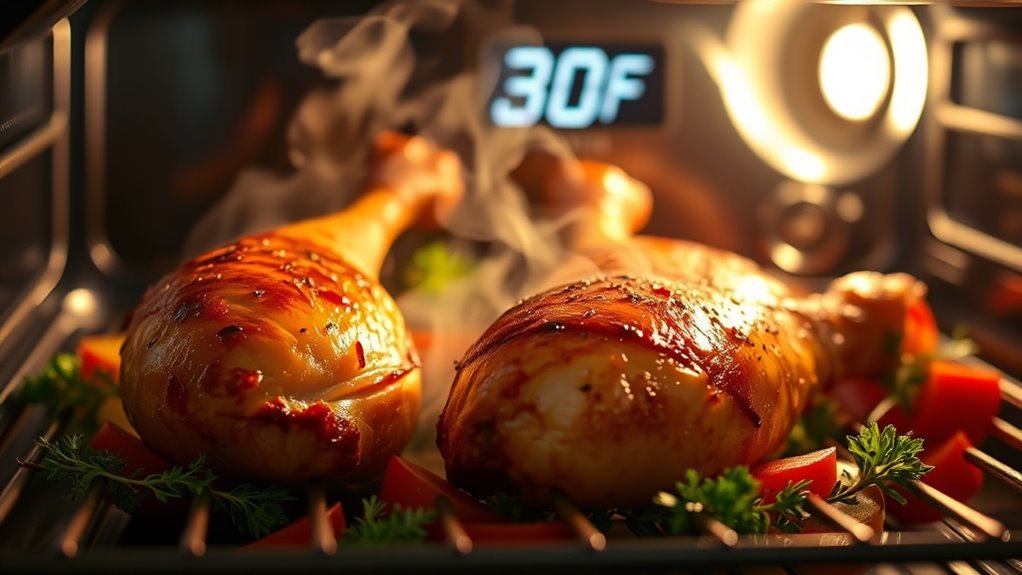
How Long to Bake Chicken Legs at 400°F Quickly
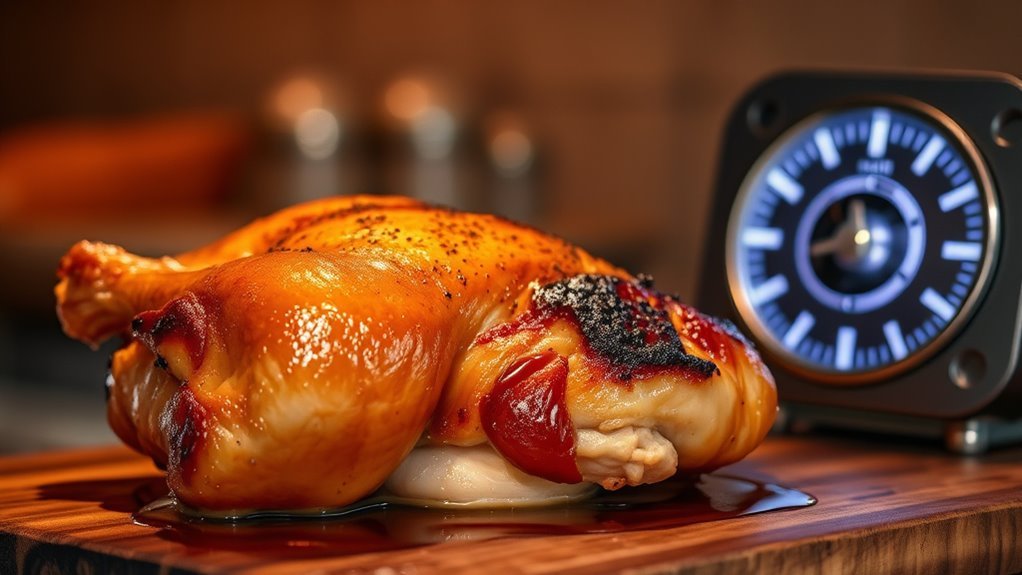
When you’re aiming to bake chicken legs at 400°F quickly, timing and technique matter more than you might think. Baking chicken legs at 400°F is a popular method for achieving crispy skin and juicy meat. You want juicy, well-cooked meat without drying it out or undercooking it.
But how long should you really leave them in the oven? The answer depends on a few key factors that are easy to overlook—understanding these will help you get perfect results every time. Proper timing ensures your chicken legs are safe to eat and delicious.
Optimal Baking Time for Chicken Leg Quarters at 400°F
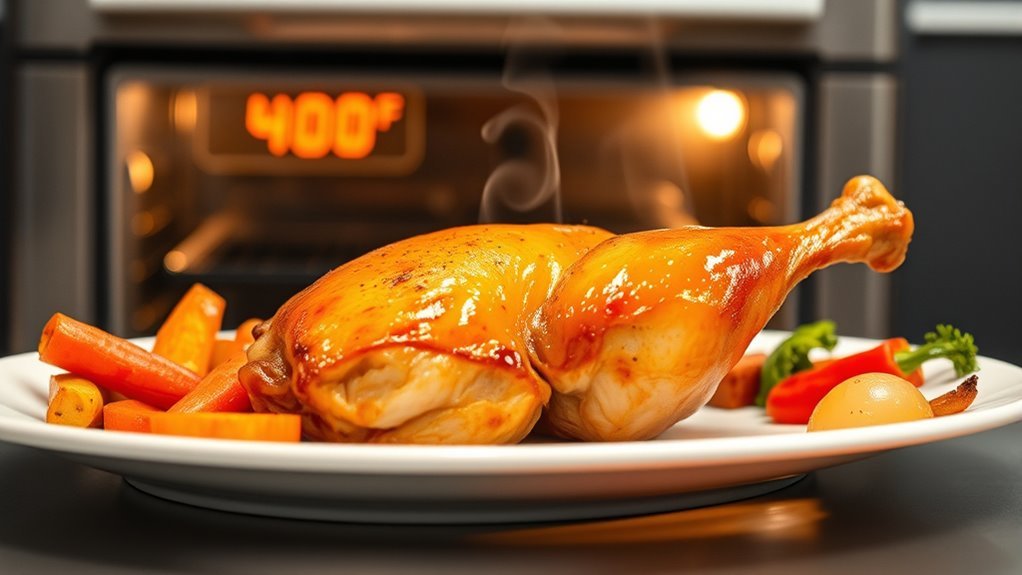
Although baking times can vary, you should plan on 35 to 60 minutes to cook chicken leg quarters at 400°F.
If you’re a new account holder in cooking, you might wonder why it takes so long to bake chicken properly.
Starting at 35 minutes, check the internal temperature with a meat thermometer; it should reach 165°F for safe consumption.
Baking around 45 minutes is typical, but size and oven calibration can affect timing.
Look for browned skin and clear juices as visual signs that your chicken is done.
By monitoring these cues, you’ll avoid undercooked or overcooked chicken, making your baking experience smoother and more predictable.
This approach saves you time and ensures delicious results every time.
Factors Influencing Cooking Duration
The baking time for chicken legs at 400°F isn’t one-size-fits-all because several factors influence how long they need to cook. Size and thickness matter most. Thicker legs take longer to bake. Oven calibration can also vary, meaning your actual cooking temperature might differ from the set 400°F.
Starting with about 35 minutes and then checking ensures you don’t over or undercook. Larger or bone-in legs might need 50-60 minutes. Using a meat thermometer helps you confirm doneness every time.
| Factor | Impact on Cooking Time |
|---|---|
| Size & Thickness | Thicker legs need more time |
| Oven Calibration | Affects actual cooking temperature |
| Starting Time | Begin at 35 mins, then check |
| Bone-in vs Boneless | Bone-in may require longer baking |
Recommended Internal Temperature for Safety
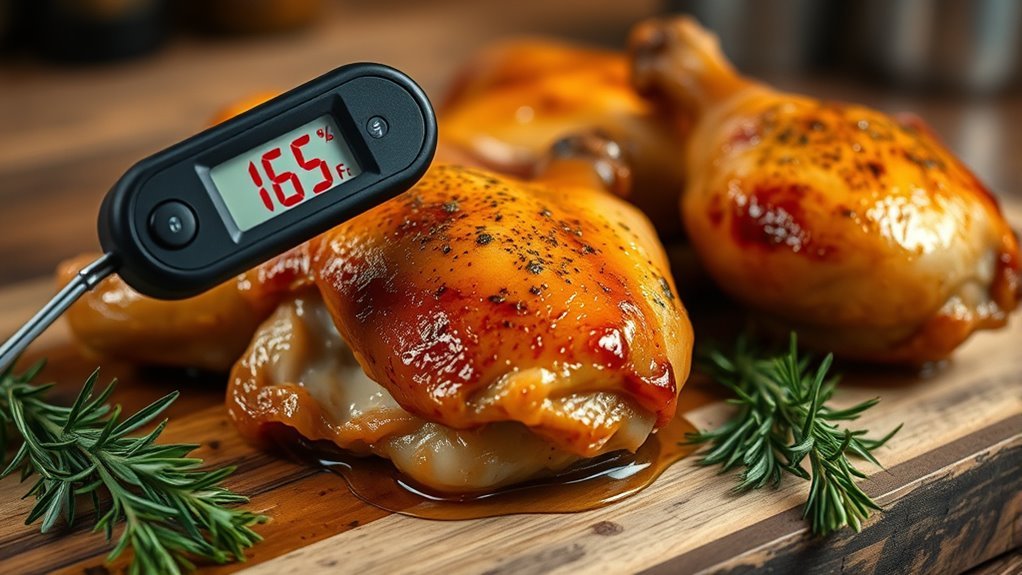
When you bake chicken legs, you need to reach an internal temperature of 165°F (74°C) to guarantee they’re safe to eat. The USDA sets this standard to ensure harmful bacteria are eliminated.
To check, insert a meat thermometer into the thickest part of the leg without touching bone. This method provides the most accurate reading, regardless of how long or by what method you cook.
Avoid overcooking, as temperatures above 165°F can dry out the meat.
After removing the chicken from the oven, let it rest for a few minutes. This pause allows juices to redistribute and ensures the temperature reading remains stable.
Visual Indicators of Doneness
You’ll want to look beyond the thermometer to confirm your chicken legs are perfectly cooked. First, check the juices: when you pierce the meat with a fork or knife, the juices should run clear, not pink.
Next, observe the skin. It should be browned and crispy, a sign of proper roasting. Also, glance at the meat near the bone; it should appear opaque rather than pink.
Finally, test the meat’s tenderness by gently twisting or pulling it. It should easily separate from the bone. These visual cues help guarantee your chicken legs aren’t only safe but deliciously done, giving you confidence in every bite without relying solely on temperature readings.
Using a Meat Thermometer Effectively
Although visual cues are helpful, using a meat thermometer is the most reliable way to guarantee your chicken legs are cooked safely and perfectly. Insert the thermometer into the thickest part of the leg, making sure it doesn’t touch the bone, which can skew the reading.
Keep an eye on the temperature as your chicken cooks, checking regularly to avoid overcooking or undercooking. Once the thermometer hits 165°F (74°C), your chicken is safe to eat.
Take the legs out of the oven immediately and let them rest for a few minutes; this helps the juices redistribute, keeping the meat juicy and tender.
Using your thermometer this way assures consistent, delicious results every time.
Adjusting Time Based on Chicken Size and Thickness
Checking the internal temperature gives you a clear indication of doneness, but the size and thickness of your chicken legs also affect baking time. Thicker or larger legs often need an extra 10-15 minutes beyond the usual 35-40 minutes at 400°F.
Smaller or thinner legs might finish right within that standard range.
To ensure even cooking, add roughly 10 minutes per additional half-inch of thickness.
Always aim for an internal temperature of 165°F for safety.
Visual signs like browned skin and clear juices help, but never rely solely on them.
Larger chicken legs may need 45-55 minutes total.
Smaller legs cook in about 35-40 minutes.
Add 10 minutes for every half-inch increase in thickness.
Verify doneness with a meat thermometer.
Look for browned skin and clear juices as secondary cues.
Expert Opinions on Baking Times
When baking chicken legs at 400°F, experts vary on the ideal cooking time, reflecting differences in size and personal preference. Lindsay Jensen Giesbrecht recommends starting with 35 minutes, then checking the internal temperature to decide if more time is needed.
On the other hand, Katie Koschak suggests baking for a full hour to ensure thorough cooking, especially for larger pieces. The key is that the chicken legs should reach an internal temperature of 165°F for safe consumption.
Since size and thickness influence cooking time, you might need to adjust accordingly.
Tips for Juicy and Flavorful Chicken Legs
To keep your chicken legs juicy and flavorful, start by monitoring the internal temperature closely so you don’t overcook them. Aim for 165°F to ensure they’re safe and moist.
Basting with marinades or butter during baking adds extra moisture and depth of flavor.
Use a meat thermometer to check doneness accurately and avoid drying out the meat.
After baking, let your chicken rest for a few minutes; this step lets juices redistribute, making every bite tender and tasty.
Check internal temperature with a meat thermometer.
Bake at 400°F for about 35 minutes as a starting point.
Baste occasionally with marinades or melted butter.
Avoid overcooking to retain moisture.
Let chicken legs rest post-baking before serving.
Common Mistakes to Avoid When Baking
Keeping your chicken legs juicy and flavorful requires attention, but there are common pitfalls that can spoil your baking results.
First, avoid overbaking at 400°F; it dries out the meat and burns the skin.
Always use a meat thermometer to ensure your chicken reaches a safe internal temperature. Relying on sight alone isn’t enough.
Pay attention to the size and thickness of each piece, as thicker legs need more time to cook through.
Don’t open the oven door repeatedly during baking; this causes temperature drops and uneven cooking.
Resting Time and Serving Suggestions
Although the chicken legs are done baking, you’ll want to let them rest for about 5 minutes. This resting period allows the juices to redistribute, making the meat juicier and more flavorful.
To keep the skin crispy and prevent moisture loss, loosely cover the legs with foil while they rest.
Serve them hot, ideally within 10 minutes, to enjoy the best taste and texture.
Consider pairing your chicken with complementary sides to elevate the meal.
- Rest chicken legs for 5 minutes post-baking
- Loosely cover with foil to retain moisture and crispiness
- Serve within 10 minutes for ideal flavor and texture
- Pair with sides like roasted vegetables or mashed potatoes
- Resting stabilizes internal temperature, ensuring safety and juiciness
Frequently Asked Questions
How Long Do Chicken Drumsticks Take at 400 Degrees?
You’ll bake chicken drumsticks at 400°F for about 35 to 45 minutes. Check them at 35 minutes, and use a meat thermometer to guarantee they reach 165°F for juicy, fully cooked results.
How Long Does It Take to Bake Chicken Legs?
You’ll bake chicken legs at 400°F for about 35 to 45 minutes. Check their internal temperature reaches 165°F, and look for browned skin and clear juices to confirm they’re fully cooked and safe to eat.
What’s the Fastest Way to Cook Chicken Legs?
The fastest way to cook chicken legs is baking them at 400°F for about 30-35 minutes, using a meat thermometer to hit 165°F.
Covering with foil helps retain heat and speeds up cooking too.
Is It Better to Bake Chicken Legs Covered or Uncovered?
You’ll get crispier skin baking chicken legs uncovered, but covering them helps keep the meat juicier. For the best of both, start uncovered to brown, then cover near the end to lock in moisture.
Conclusion
So, you want perfectly baked chicken legs at 400°F without turning your kitchen into a smokehouse or serving rubbery surprises? Easy—just check that thermometer around 35 minutes and don’t ignore the golden skin and clear juices. No need to play culinary roulette!
Follow these tips, avoid common blunders, and you’ll impress even the toughest critics—your hungry family. Remember, patience isn’t just a virtue; it’s the secret ingredient to juicy, safe, finger-licking chicken legs.
When baking chicken legs at 400°F, timing and attention to detail are key. Stick to about 35-40 minutes and use a meat thermometer to ensure safety. This method ensures perfectly baked chicken legs every time.