

“How Long to Bake Cookies – Easy Step-by-Step Baking Guide”
When you’re ready to bake cookies, knowing the right baking time is key to getting the perfect texture and flavor. Baking time for cookies can vary depending on several factors, so it’s important to understand how long to bake cookies for the best results. Too short, and they’ll be doughy; too long, and they risk becoming dry or burnt.
But baking time isn’t the only factor—oven temperature, dough size, and even the type of cookie sheet you use all play a role. These details affect how long to bake cookies and influence the final outcome. Let’s explore these details so your cookies come out just right every time.
Preparing Your Cookie Sheet for Baking

Before you place your cookie dough on the sheet, make certain you prepare it properly to prevent sticking and guarantee even baking.
Start with a clean, dry cookie sheet to avoid any residue that could cause uneven baking or sticking.
Use a non-stick cookie sheet or line your baking sheets with parchment paper for easy cookie removal.
If you’re adding sprinkles or candies, place parchment paper underneath to catch drips and prevent burning.
Remember, dark-colored pans bake faster, so keep an eye on your cookies.
Also, preheat your oven to the recommended baking temperature before placing the cookies inside.
Proper preparation of your cookie sheet ensures your cookies bake evenly, release effortlessly, and look perfect every time.
Essential Tools for Baking Cookies
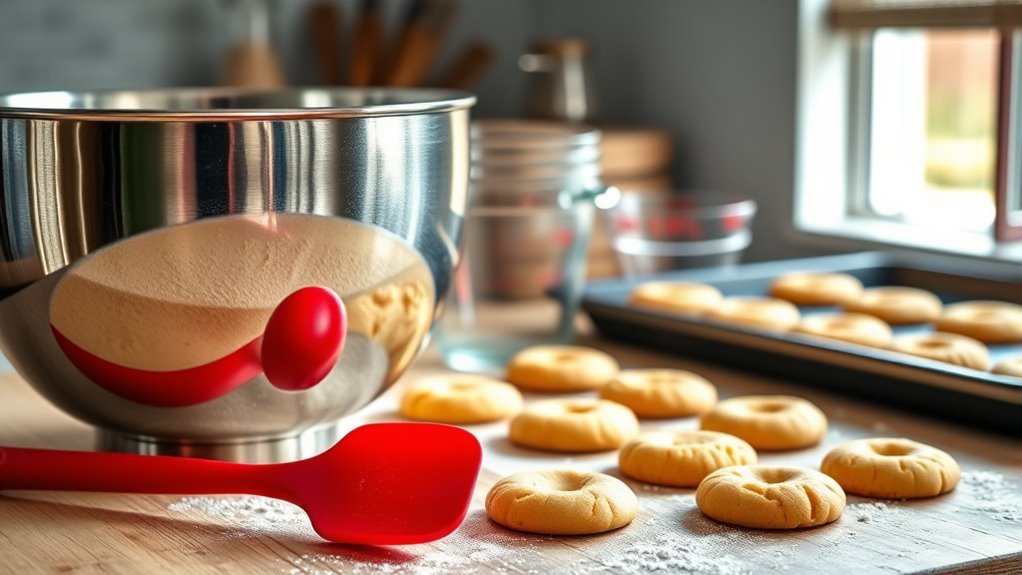
Although you might be enthusiastic to start mixing ingredients, gathering the right tools will make your cookie baking smoother and more consistent. Start with measuring spoons and a digital scale to guarantee precise ingredient portions.
Gathering the right tools first ensures smoother, more consistent cookie baking with precise ingredient measurements.
Use mixing bowls to combine your ingredients properly. Preparing your baking sheet with parchment paper or a silicone baking mat prevents sticking and promotes even browning.
A cookie scoop helps you form uniform cookies, so they bake evenly without shape inconsistencies.
An oven thermometer assures your oven hits the right temperature, essential for perfect texture and doneness.
Timers keep track of baking time accurately, while a wide, flexible spatula makes removing hot cookies easier and prevents breakage.
These essentials streamline your baking process and improve your cookie results every time.
Mixing and Preparing Cookie Dough
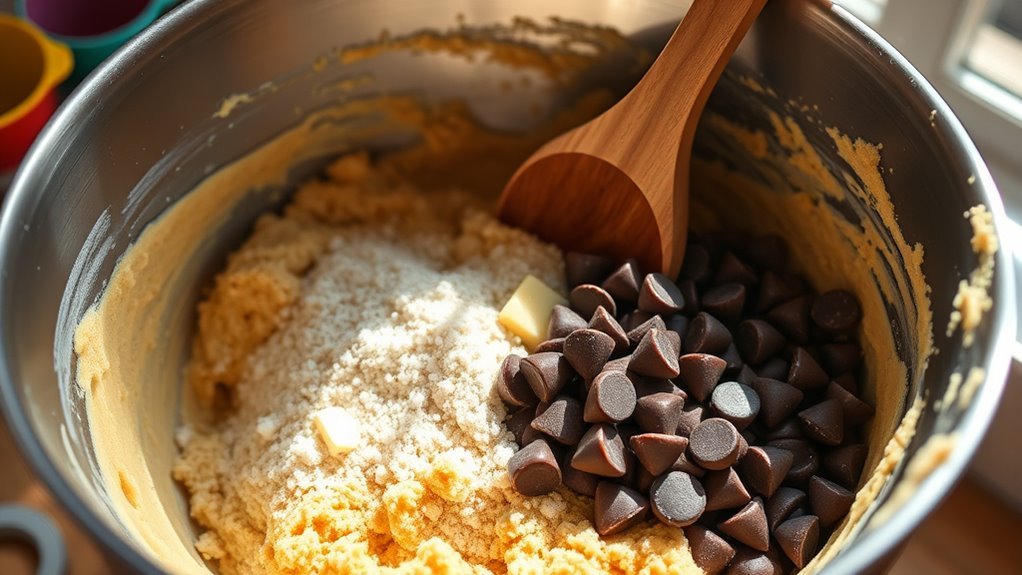
When you start mixing your cookie dough, combine the dry ingredients like flour, baking soda, and salt in a medium bowl, sifting or whisking them to guarantee even distribution.
Soften butter to room temperature, then cream it with sugar until light and fluffy. Add eggs one at a time, beating well after each, then mix in vanilla extract.
Gradually fold in the dry ingredients and chocolate chips, mixing just until combined to avoid overworking the dough.
| Step | Ingredient | Purpose |
|---|---|---|
| 1 | Dry ingredients | Even distribution |
| 2 | Butter & sugar | Creaming |
| 3 | Eggs | Moisture |
| 4 | Vanilla extract | Flavor |
| 5 | Chocolate chips | Texture |
Tips for Soft and Chewy Cookies
Mixing your dough properly sets the stage, but achieving soft and chewy cookies takes a few more smart moves. Focus on these tips to perfect your cookie texture:
- Use brown sugar to boost moisture content, enhancing softness and chewiness.
- Chill cookie dough for at least 30 minutes before baking to reduce spreading and thicken cookies.
- Bake at a slightly lower baking temperature, around 350°F, with proper oven preheating for even baking time.
- Remove cookies when edges are lightly browned and centers look underdone to lock in softness.
Consider ingredient adjustments like adding more eggs or using bread flour for extra chewiness. These steps guarantee your cookies come out perfectly soft and chewy every time.
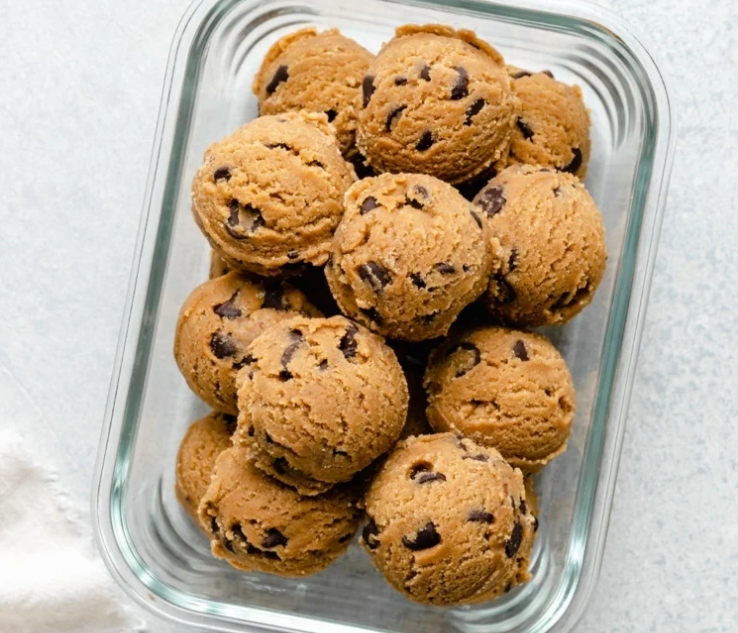
How to Portion and Shape Cookie Dough
Since even portioning affects how your cookies bake, it’s important to use a cookie scoop or measure dough balls consistently. Aim for uniform dough balls about 1.5 to 2 inches in diameter.
When shaping by hand, gently roll the dough between your palms to create smooth, round cookie balls without overworking the dough.
Place each portioned dough ball on a parchment-lined baking sheet, ensuring proper spacing of 1.5 to 2 inches to allow for spreading.
For best results, chill the shaped dough in the refrigerator for at least 30 minutes before baking. This step helps control spreading and keeps your cookies looking neat.
If you plan to freeze, portion and shape the dough balls first, freeze them on a tray, then transfer to storage for easy baking later.
Baking Time and Temperature Guidelines
A reliable baking temperature for most cookies is 350°F (175°C), with a typical bake time of 8 to 10 minutes. Adjust baking time depending on cookie size and desired cookie texture.
Use these baking tips to get it right:
- For softer cookies, stick to the shorter baking duration; for crispier ones, add a minute or two.
- Dark-colored baking trays absorb more oven heat, so check your cookies 1 to 2 minutes earlier to avoid overbaking.
- Place cookies evenly spaced on a baking sheet to ensure uniform oven temperature distribution.
- After baking, let cookies cool on the baking tray to finish the cooling process and set the right texture. Keep an eye on cookie doneness visually rather than just the timer for best results.
How to Tell When Cookies Are Done
Although baking times offer a helpful guideline, you’ll know your cookies are done when the edges turn golden brown and feel slightly firm to the touch. Lightly press the center; it should indent without feeling doughy.
The bottoms should show a consistent light brown color, indicating they’re properly baked. Cookies often look soft or underdone in the center but will firm up as they cool. Remove them as soon as the edges start turning brown to avoid overbaking.
| Indicator | What to Look For |
|---|---|
| Edges | Golden brown and firm |
| Center | Slight indent, not doughy |
| Bottoms | Light brown color |
| Texture | Soft but set, not underdone |
| Timing | Remove before overbaking |
Common Reasons Why Cookies Spread or Flatten
Knowing when your cookies are done is important, but understanding why they spread or flatten can help you get the perfect shape every time. Several factors affect cookie shape and dough consistency:
- Butter spread and dough temperature: Using warm or melted butter softens dough, causing excess spreading. Refrigeration firms fats, preventing flattening.
- Leavening agents: Expired or inactive baking soda or powder reduce rise, increasing spread.
- Ingredient mixing: Overmixing develops gluten, making cookies spread and lose shape.
- Oven temperature and pan type: Higher heat or dark pans quicken spreading and browning, flattening cookies.
Control these elements along with baking time to bake cookies with the ideal texture and shape every batch.
Proper Cooling and Storing of Cookies
When you take cookies out of the oven, let them cool on the baking sheet for about 5 minutes before moving them to a wire rack; this helps prevent breaking and keeps their shape intact.
Use the cooling rack to let cookies cool completely, which is essential before you store cookies.
Storing warm cookies in an airtight container can cause condensation, ruining cookie freshness. Once cooled, keep your cookies at room temperature in an airtight container to maintain cookie preservation for up to five days.
Avoid cookie stacking while still warm to prevent sticking and deformation.
For long-term storage, make sure cookies are fully cooled before freezing in an airtight container.
Proper cooling and storing ensures your cookies stay delicious and fresh, preserving their texture and flavor.
Freezing Cookie Dough and Baked Cookies
Keeping your cookies fresh doesn’t have to stop after storing them at room temperature. You can freeze cookie dough and baked cookies to extend their shelf life while maintaining quality. Here’s how to manage cookie storage effectively:
- Portion cookie dough into balls, place on parchment-lined trays, and freeze for at least 30 minutes. Then transfer to an airtight container; freeze cookie dough for up to 2 months.
- Bake frozen cookie dough directly at 350°F (175°C), adding 2-3 minutes to the baking time. Don’t thaw before baking.
- Wrap baked cookies individually in plastic wrap or foil, then store in an airtight container in the freezer for up to 2 months.
- To thaw baked cookies, leave at room temperature for 30 minutes or warm briefly in the oven for a fresh-baked taste.
Frequently Asked Questions
How Long Do I Bake Cookies for at 350?
You’ll bake cookies at 350°F for about 8 to 12 minutes. Check edges for light golden color for chewy cookies, or wait until darker brown if you want them crispier.
Keep an eye on smaller cookies!
How Long Should I Bake My Cookies?
You’ll bake your cookies for 8 to 12 minutes, edges golden, centers soft, a contrast of crisp and chewy.
Check early, especially thin ones, and watch the first batch closely to perfect timing for your oven.
What Are the 7 Steps in Making Cookies?
You’ll mix dry ingredients, cream butter and sugar, add eggs and vanilla, combine wet and dry, fold in chips or nuts, scoop dough onto sheets, then bake.
Follow these seven steps for perfect cookies every time!
What Are the 7 Steps in the Baking Process?
You’ll follow seven steps: preparation, mixing, portioning, baking, cooling, storing, and serving.
Each step guarantees your cookies turn out perfectly, from gathering ingredients to enjoying your freshly baked treats.
Conclusion
Baking cookies is like painting a masterpiece—each step adds flavor and texture to your final creation. By prepping your sheet, portioning dough evenly, and watching for those golden edges, you’ll bake cookies that delight every time.
Remember, small tweaks in baking time can turn soft cookies crisp or keep frozen dough perfect. With these tips, you’re ready to create cookie magic in your kitchen—one batch at a time.
Mastering how long to bake cookies ensures every bite is just right. Adjusting time and temperature carefully guarantees delicious results every time you bake.