
How You Can Bake Bread in an Air Fryer Step by Step (Easy Guide)
Just like a skilled painter transforms a blank canvas into art, you can turn simple ingredients into fresh bread using an air fryer. Air fryer bread baking is an easy and convenient way to enjoy homemade bread without a traditional oven. You might think baking bread requires a big oven and lots of effort, but that’s not always the case.
With the right steps and a bit of patience, you can achieve a crusty, golden loaf in surprisingly little time. Keep going, and you’ll see how straightforward it really is.
Air Fryer Bread Ingredients

Although you can use all-purpose flour, bread flour is your best bet for making air fryer bread because it develops gluten better, giving your loaf a chewier texture. You’ll want about 3 cups of bread flour to guarantee proper gluten development.
Instant yeast is ideal since it skips activation, speeding up the proofing and rise of your dough. Combine the flour with salt and a bit of honey to add flavor and help with browning.
Water is essential for hydrating the dough, and adding olive oil or melted butter improves moisture and crust quality. Precise measurements matter here, so stick to the recipe amounts.
Using these ingredients correctly sets the stage for a well-risen, flavorful loaf perfectly suited for your air fryer.
Preparing the Dough
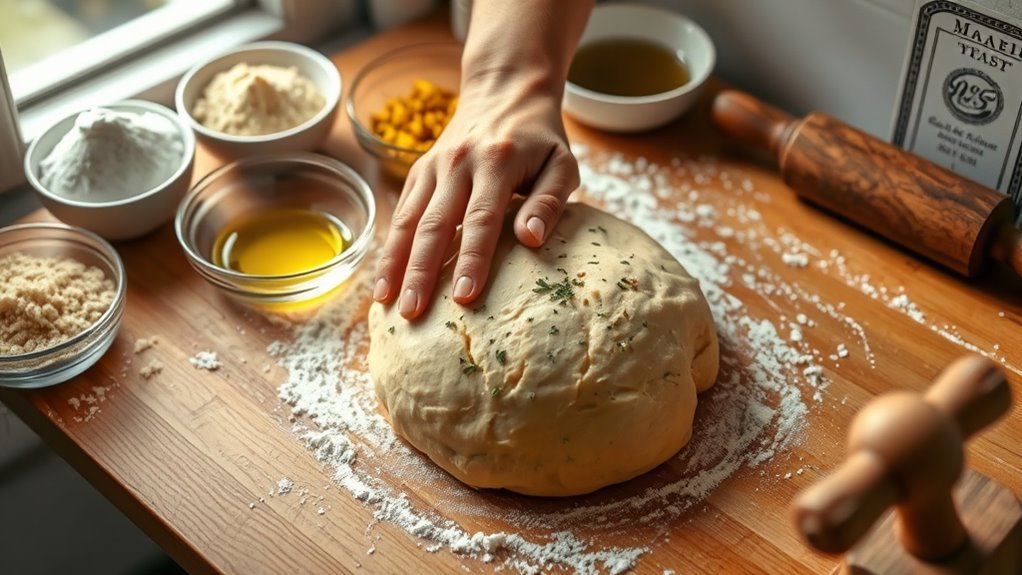
Once you’ve combined your dry ingredients, add lukewarm water, melted butter or oil, and honey, stirring until the dough just comes together in a shaggy mass. Avoid kneading right away; instead, cover the dough and let it rest for 15 minutes. This rest helps gluten development.
Next, follow these steps:
- Perform a gentle stretch and fold on the dough to strengthen gluten.
- Cover the dough and proof it in a warm spot to encourage a good rise.
- After proofing, lightly flour your surface before shaping.
- Gently shape the dough into a rectangle, then fold and roll it into a smooth boule.
These steps ensure your dough is ready for the next stage without overworking or rushing.
First Rise Process
After shaping your dough into a smooth boule, cover it with a clean towel and place it in a warm, draft-free spot to rise. This first rise process lets the yeast ferment, producing carbon dioxide that creates a bubbly texture and expands the dough’s volume.
Aim for a warm environment around 75-80°F (24-27°C) to proof your dough effectively. Avoid lifting the cover or disturbing the dough, as maintaining consistent warmth and humidity is essential for ideal fermentation. After about an hour, your dough should double in size, signaling that it’s ready for the next step.
| Step | Details |
|---|---|
| Covering | Use a clean towel |
| Location | Warm, draft-free environment |
| Temperature | 75-80°F (24-27°C) |
| Duration | About 1 hour until doubled volume |
Shaping the Dough
When your dough has risen, transfer it to a floured surface and gently shape it into a smooth, round ball or loaf to prepare for baking. Mastering dough shaping is key to a perfect loaf.
- Fold the top of the dough toward the center, then fold the bottom over to form a letter shape, building surface tension.
- Lightly knead dough as needed to maintain a taut surface without deflating it.
- Roll or reshape the dough into a tight boule or your desired loaf shape, using flour dusting to prevent sticking.
- Place the shaped dough on parchment or in a greased pan, ready for its second proof.
This careful dough shaping ensures even rising and a beautiful crust in your air-fried bread.
Second Rise Preparation
Although shaping the dough sets the foundation, you’ll need to let it rest in a greased or parchment-lined pan, covered with a clean towel, to rise again in a warm, draft-free spot. This second rise, or second proofing, is essential for proper dough development.
During this period, typically about 30 minutes, the dough should increase in size by roughly 50%. Keeping the dough covered maintains moisture, preventing a dry crust and ensuring the gluten structure strengthens effectively.
This warm, draft-free environment promotes ideal volume and a lighter crumb. The second proofing allows the gluten to relax and expand, making your bread airy and tender.
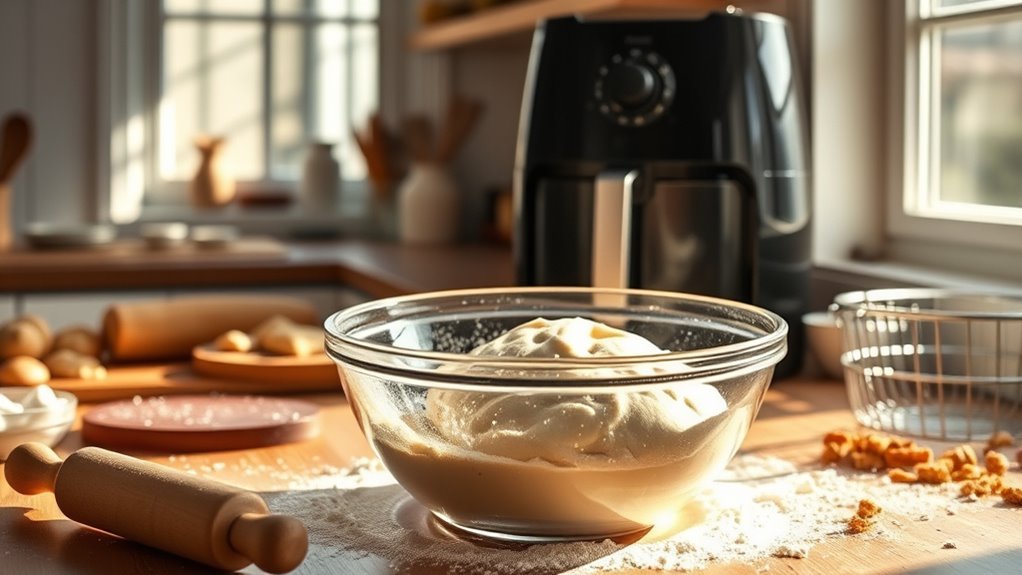
Preheating the Air Fryer
Because a properly preheated air fryer creates the ideal baking environment, you’ll want to set it to 400°F (200°C) and let it run empty for about 5 minutes before placing your dough inside.
Preheating guarantees the temperature is suitable, providing consistent heat similar to a traditional oven. This step reduces baking time and helps your bread rise better.
Follow these tips:
- Preheat at 400°F (200°C) for 5 minutes for most air fryers.
- For smaller models, preheat 3–4 minutes to avoid overheating.
- Check your air fryer’s manual for specific preheating instructions. Some don’t require it.
- Always allow the air fryer to reach a stable temperature before starting the baking process. This ensures a consistent environment for perfect bread crust and texture.
Baking the Bread in the Air Fryer
Since you’ve preheated your air fryer, you can now place the shaped dough into a greased or parchment-lined pan that fits inside the basket.
Follow this air fryer bread recipe by baking the bread at 400°F for 10 minutes.
To guarantee even baking, flip the loaf halfway through that initial time.
Then, reduce the temperature to 350°F and continue baking for 15-20 minutes.
While baking bread in air fryer, it’s important to monitor the internal temperature, aiming for about 200°F.
Once done, remove the bread and let it cool before slicing.
Using a parchment-lined pan helps prevent sticking and makes cleanup easier.
This method ensures your loaf bakes evenly and develops a perfect crust.
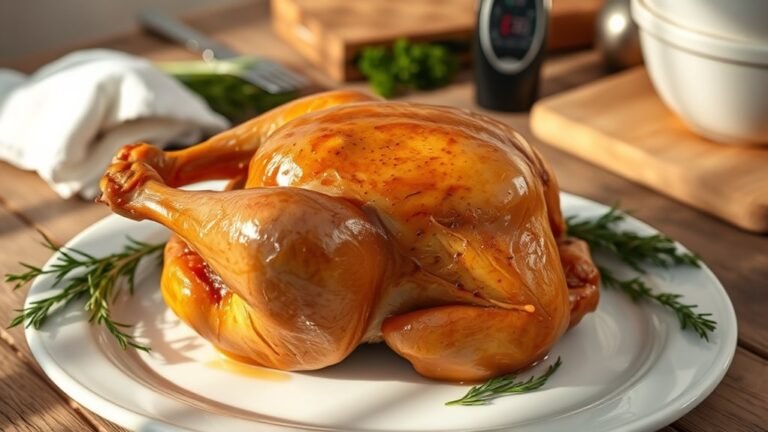
Checking for Doneness
How can you tell when your air fryer bread is perfectly baked? Checking for doneness is vital to ensure proper baking. Here’s how to confidently test your bread during the baking process:
- Tap the bottom of the loaf; a hollow sound means it’s fully baked.
- Measure the internal temperature with a digital thermometer. It should reach about 200°F (95°C).
- Look at the crust color; a golden-brown hue usually indicates doneness, but verify with temperature.
- Insert a skewer or toothpick into the center; it should come out clean or with few crumbs.
These bread testing methods help you confirm doneness before cooling on a wire rack, which finishes the baking process perfectly.
Cooling and Serving the Bread
After your bread finishes baking, let it cool on a wire rack for at least 45 minutes. This step prevents sogginess and helps the crust firm up properly. Wait until the bread’s internal temperature drops to around 80°F before you slice it to preserve the texture and avoid tearing.
When storing leftovers, loosely wrap the bread in a linen towel or place it in a bread bag at room temperature to maintain freshness and a crisp crust. For longer storage, slice and freeze the bread, then toast slices directly from frozen.
| Step | Details |
|---|---|
| Cooling rack | Use to cool bread evenly |
| Resting time | At least 45 minutes |
| Slice | After internal temp reaches 80°F |
| Storage | Loose wrapping at room temperature |
| Serving | Serve fresh or toast frozen slices |
Frequently Asked Questions
How Do You Bake Bread in the Air Fryer?
You preheat your air fryer, shape and score the dough, then bake it at high heat briefly before lowering the temperature.
Check for doneness by tapping or using a thermometer to guarantee it’s fully cooked inside.
What Temperature Do You Air Fry Bread At?
You don’t just air fry bread at one temperature; start at 400°F to form a crust, then lower to 350°F to finish baking. This balance prevents burning outside while ensuring the inside cooks perfectly.
How to Bake Using an Air Fryer?
You preheat your air fryer, prepare your dough, then bake at high heat first to form a crust. Lower the temperature to finish baking.
Check doneness by internal temperature or tapping for a hollow sound.
Can You Use a Normal Loaf Tin in an Air Fryer?
Yes, you can use a normal loaf tin in your air fryer as long as it fits comfortably and is oven-safe.
Just reduce the temperature slightly and monitor baking closely to avoid over-browning or uneven cooking.
Conclusion
Baking bread in your air fryer transforms your kitchen into a warm, fragrant bakery, where simple ingredients rise like a sunrise, filling the air with promise. With each step—from mixing to the final golden crust—you’re crafting more than bread; you’re shaping comfort and joy.
So, let your air fryer be the magic oven that turns humble dough into a golden masterpiece, ready to nourish both body and soul.
Enjoy every warm, tender slice of air fryer bread, and savor the convenience and deliciousness that baking bread in an air fryer brings to your home.